

Create My Certificate for Google Forms™: User Guide
Introduction
Welcome to Create My Certificate for Google Forms™! This add-on helps you effortlessly generate professional, personalized certificates based on responses from your Google Forms™. Whether it’s acknowledging course completion, event attendance, or outstanding achievements, this tool saves you time while delivering high-quality results.
Prerequisites
- Google Account: Make sure you're signed into the account that owns the form.
- Google Forms™: Prepare a form with all required fields (e.g., a "Full Name" question).
Step-by-Step Setup Instructions
Installing the Add-On
- Open the App: Click here to access the app on the Google Marketplace.
- Install the Add-On: Follow the prompts and grant the necessary permissions.
- Refresh Your Form: After installation, refresh the page to see the add-on in the puzzle-piece menu.
Connecting the Add-On to Your Template
-
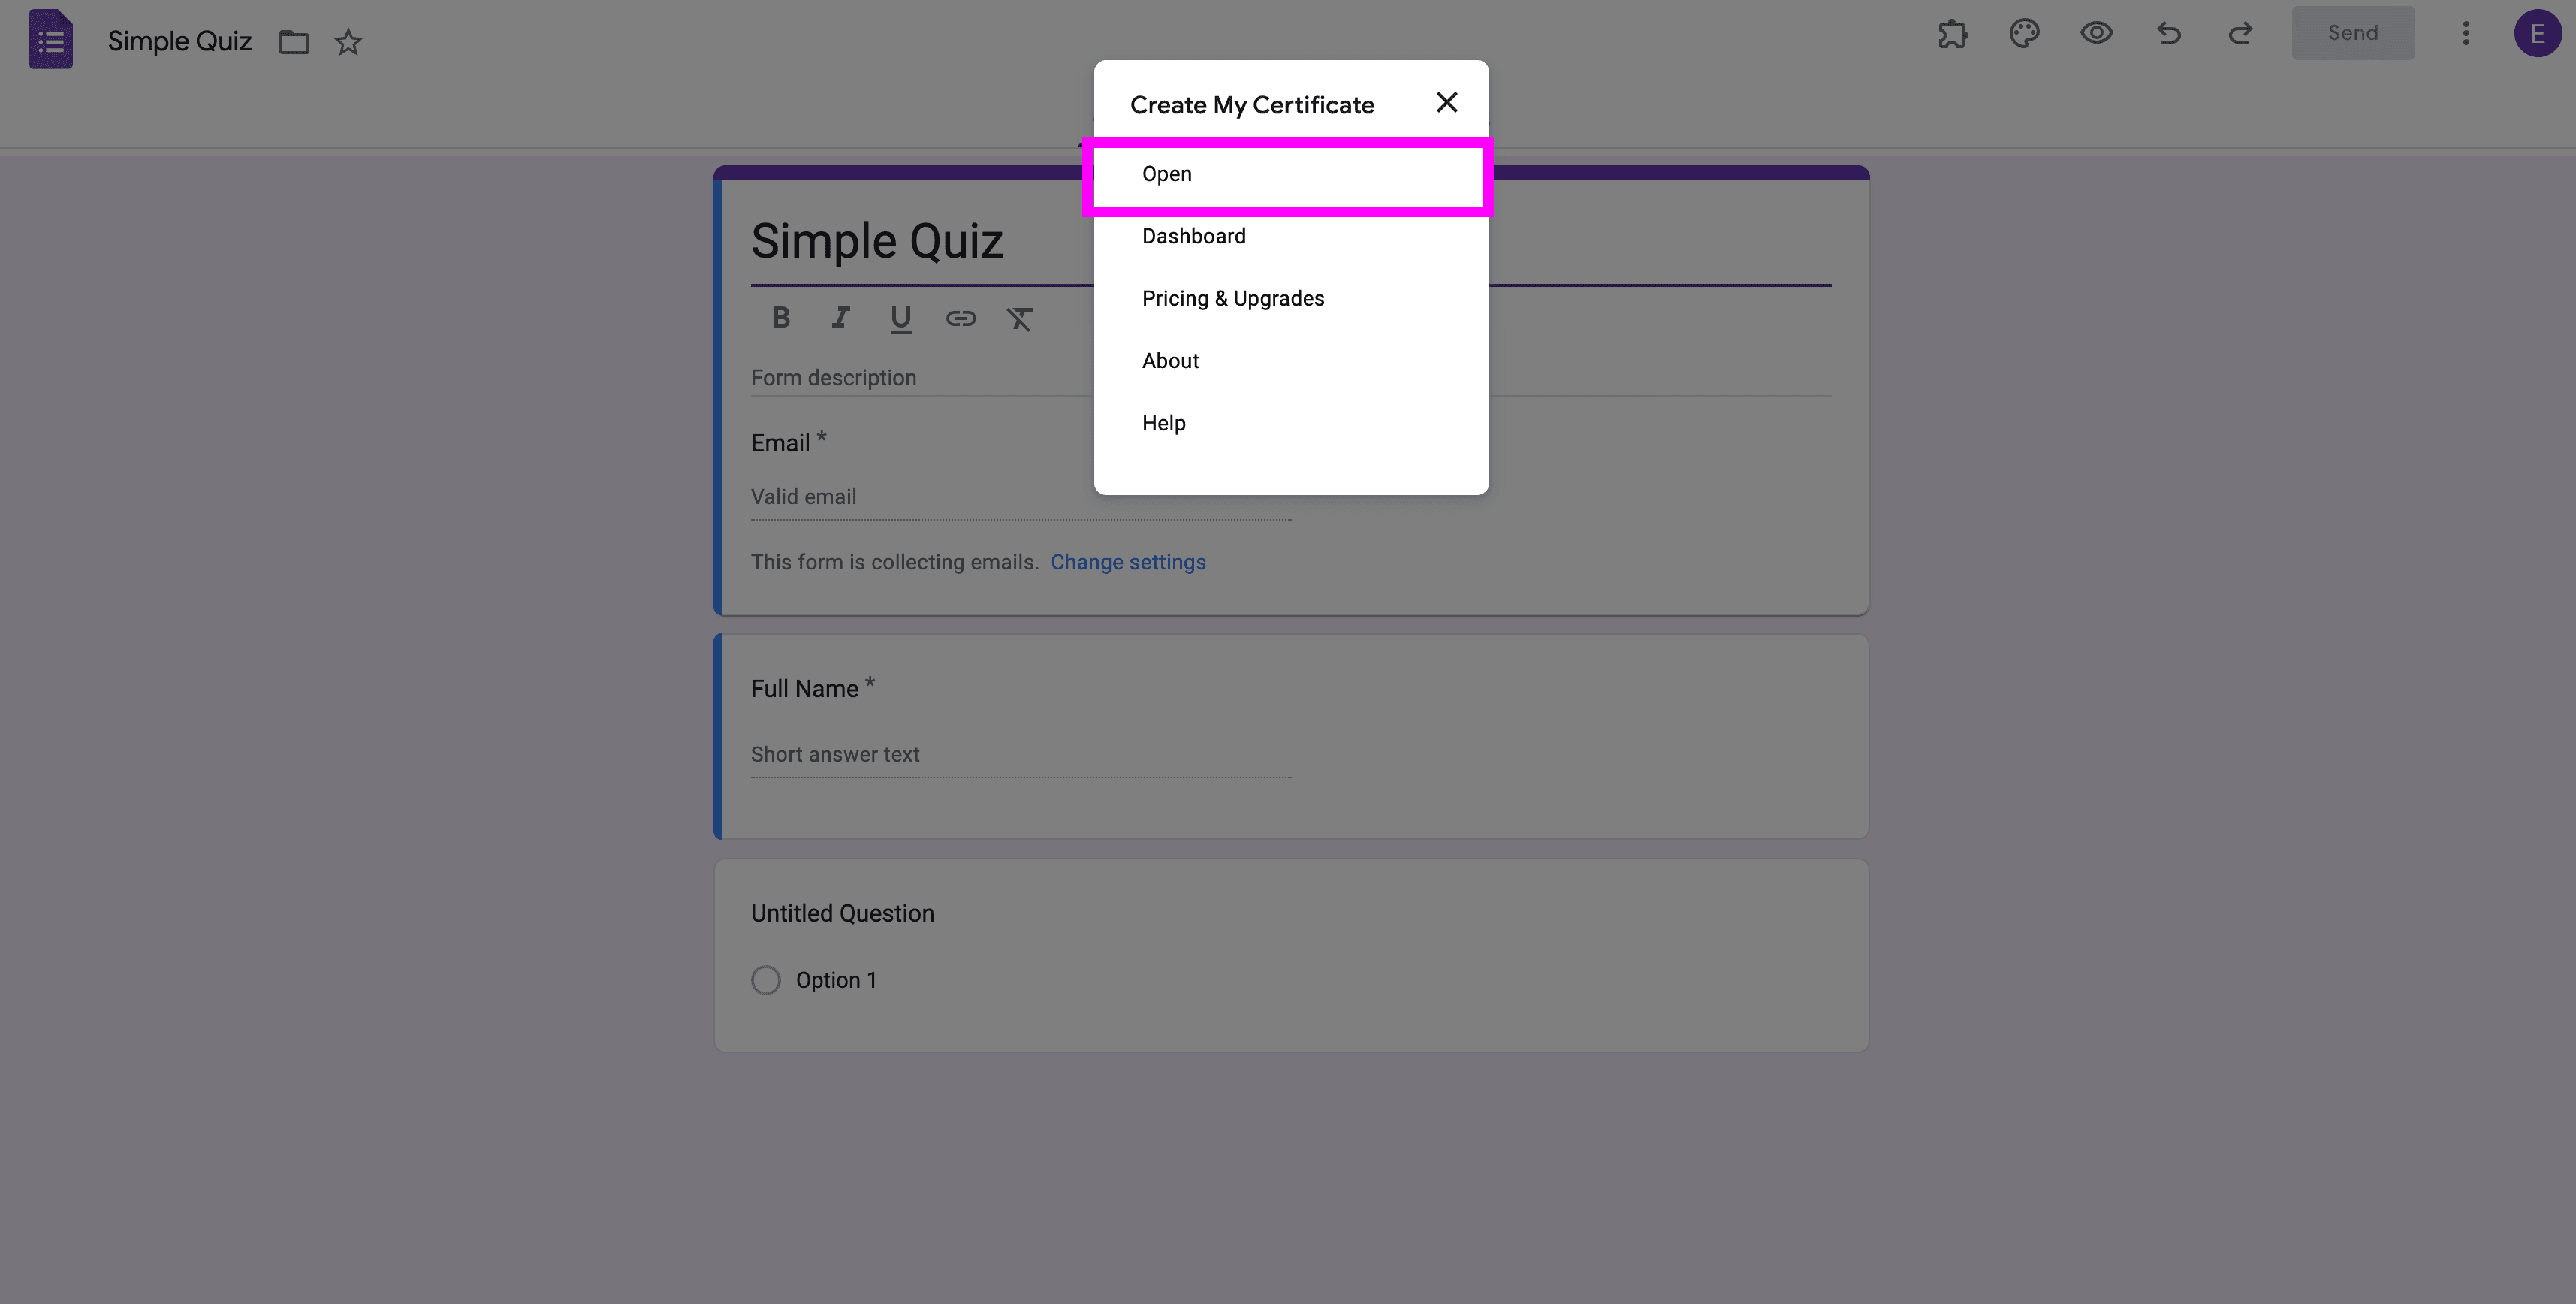
Open the Add-On: Click the puzzle-piece icon and select Create My Certificate > Open.

-
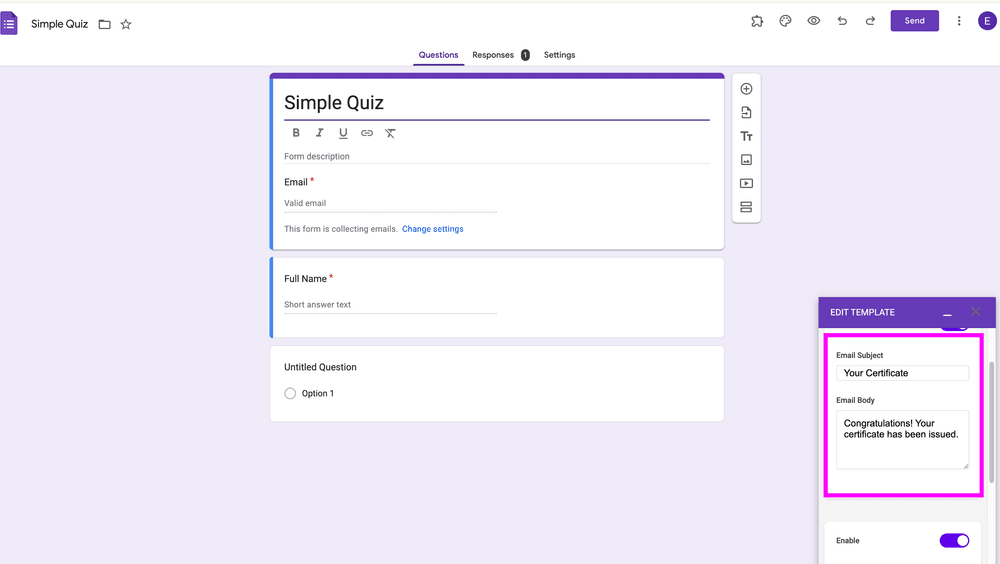
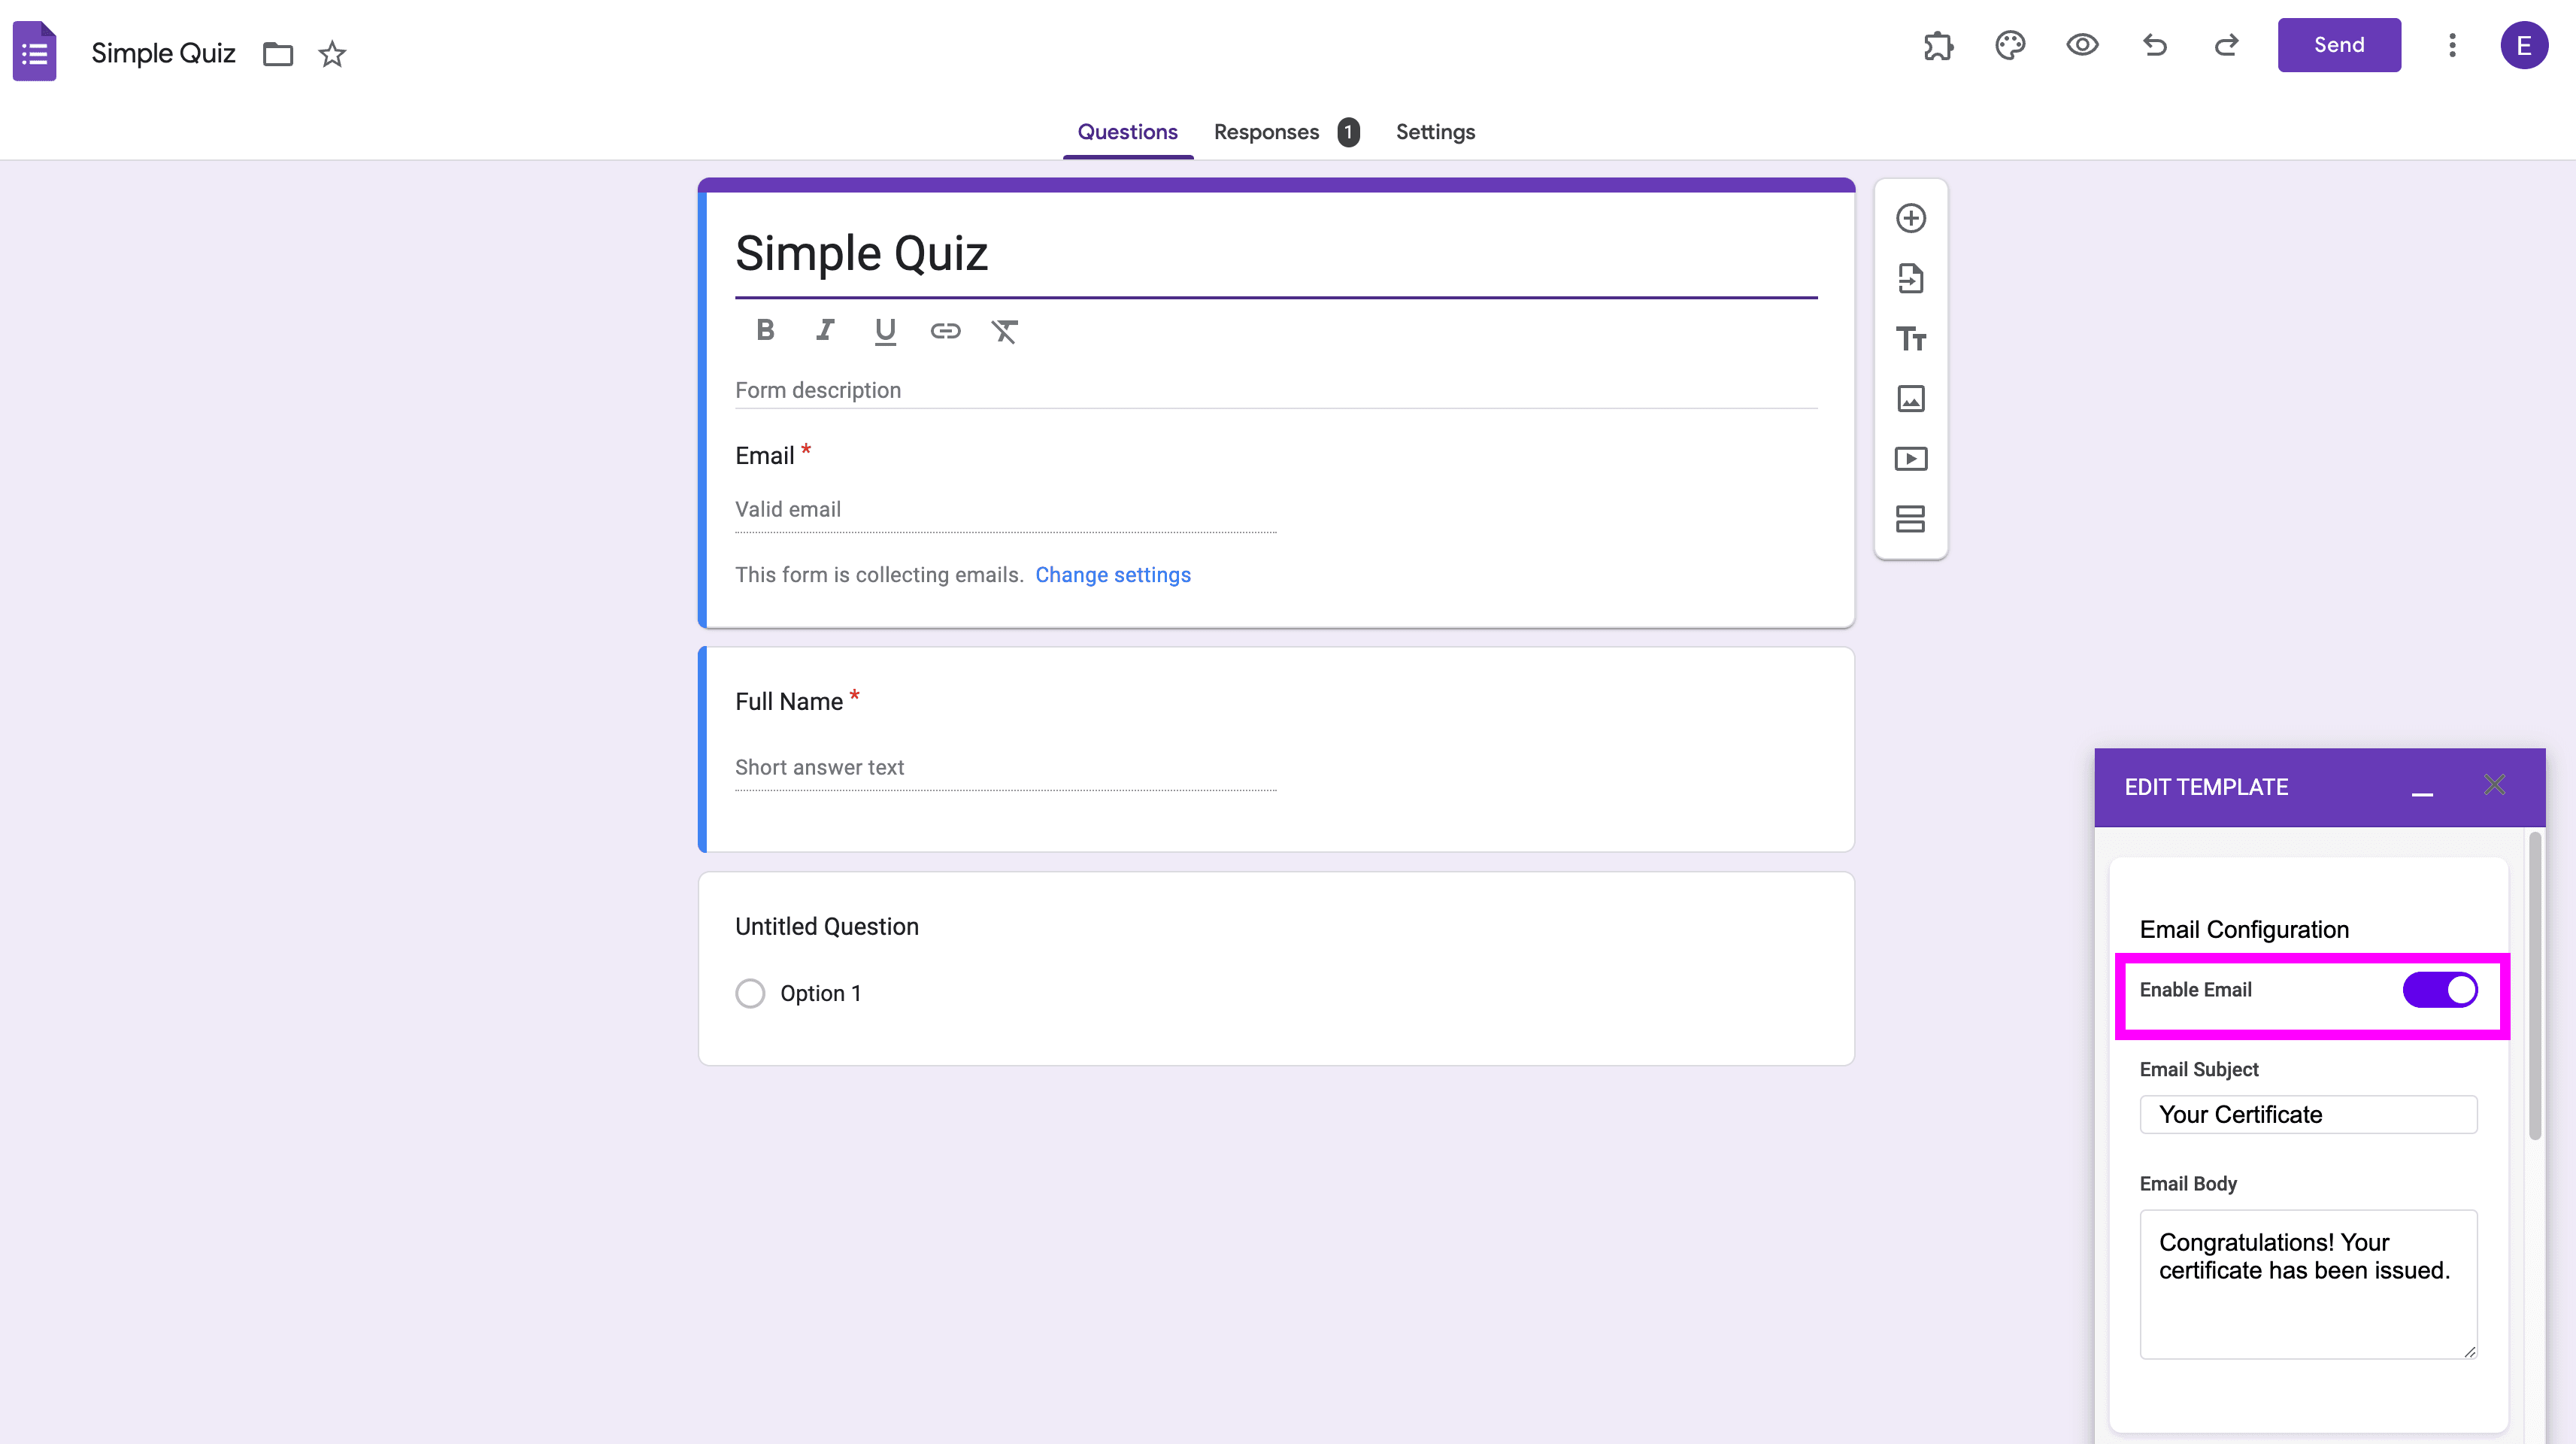
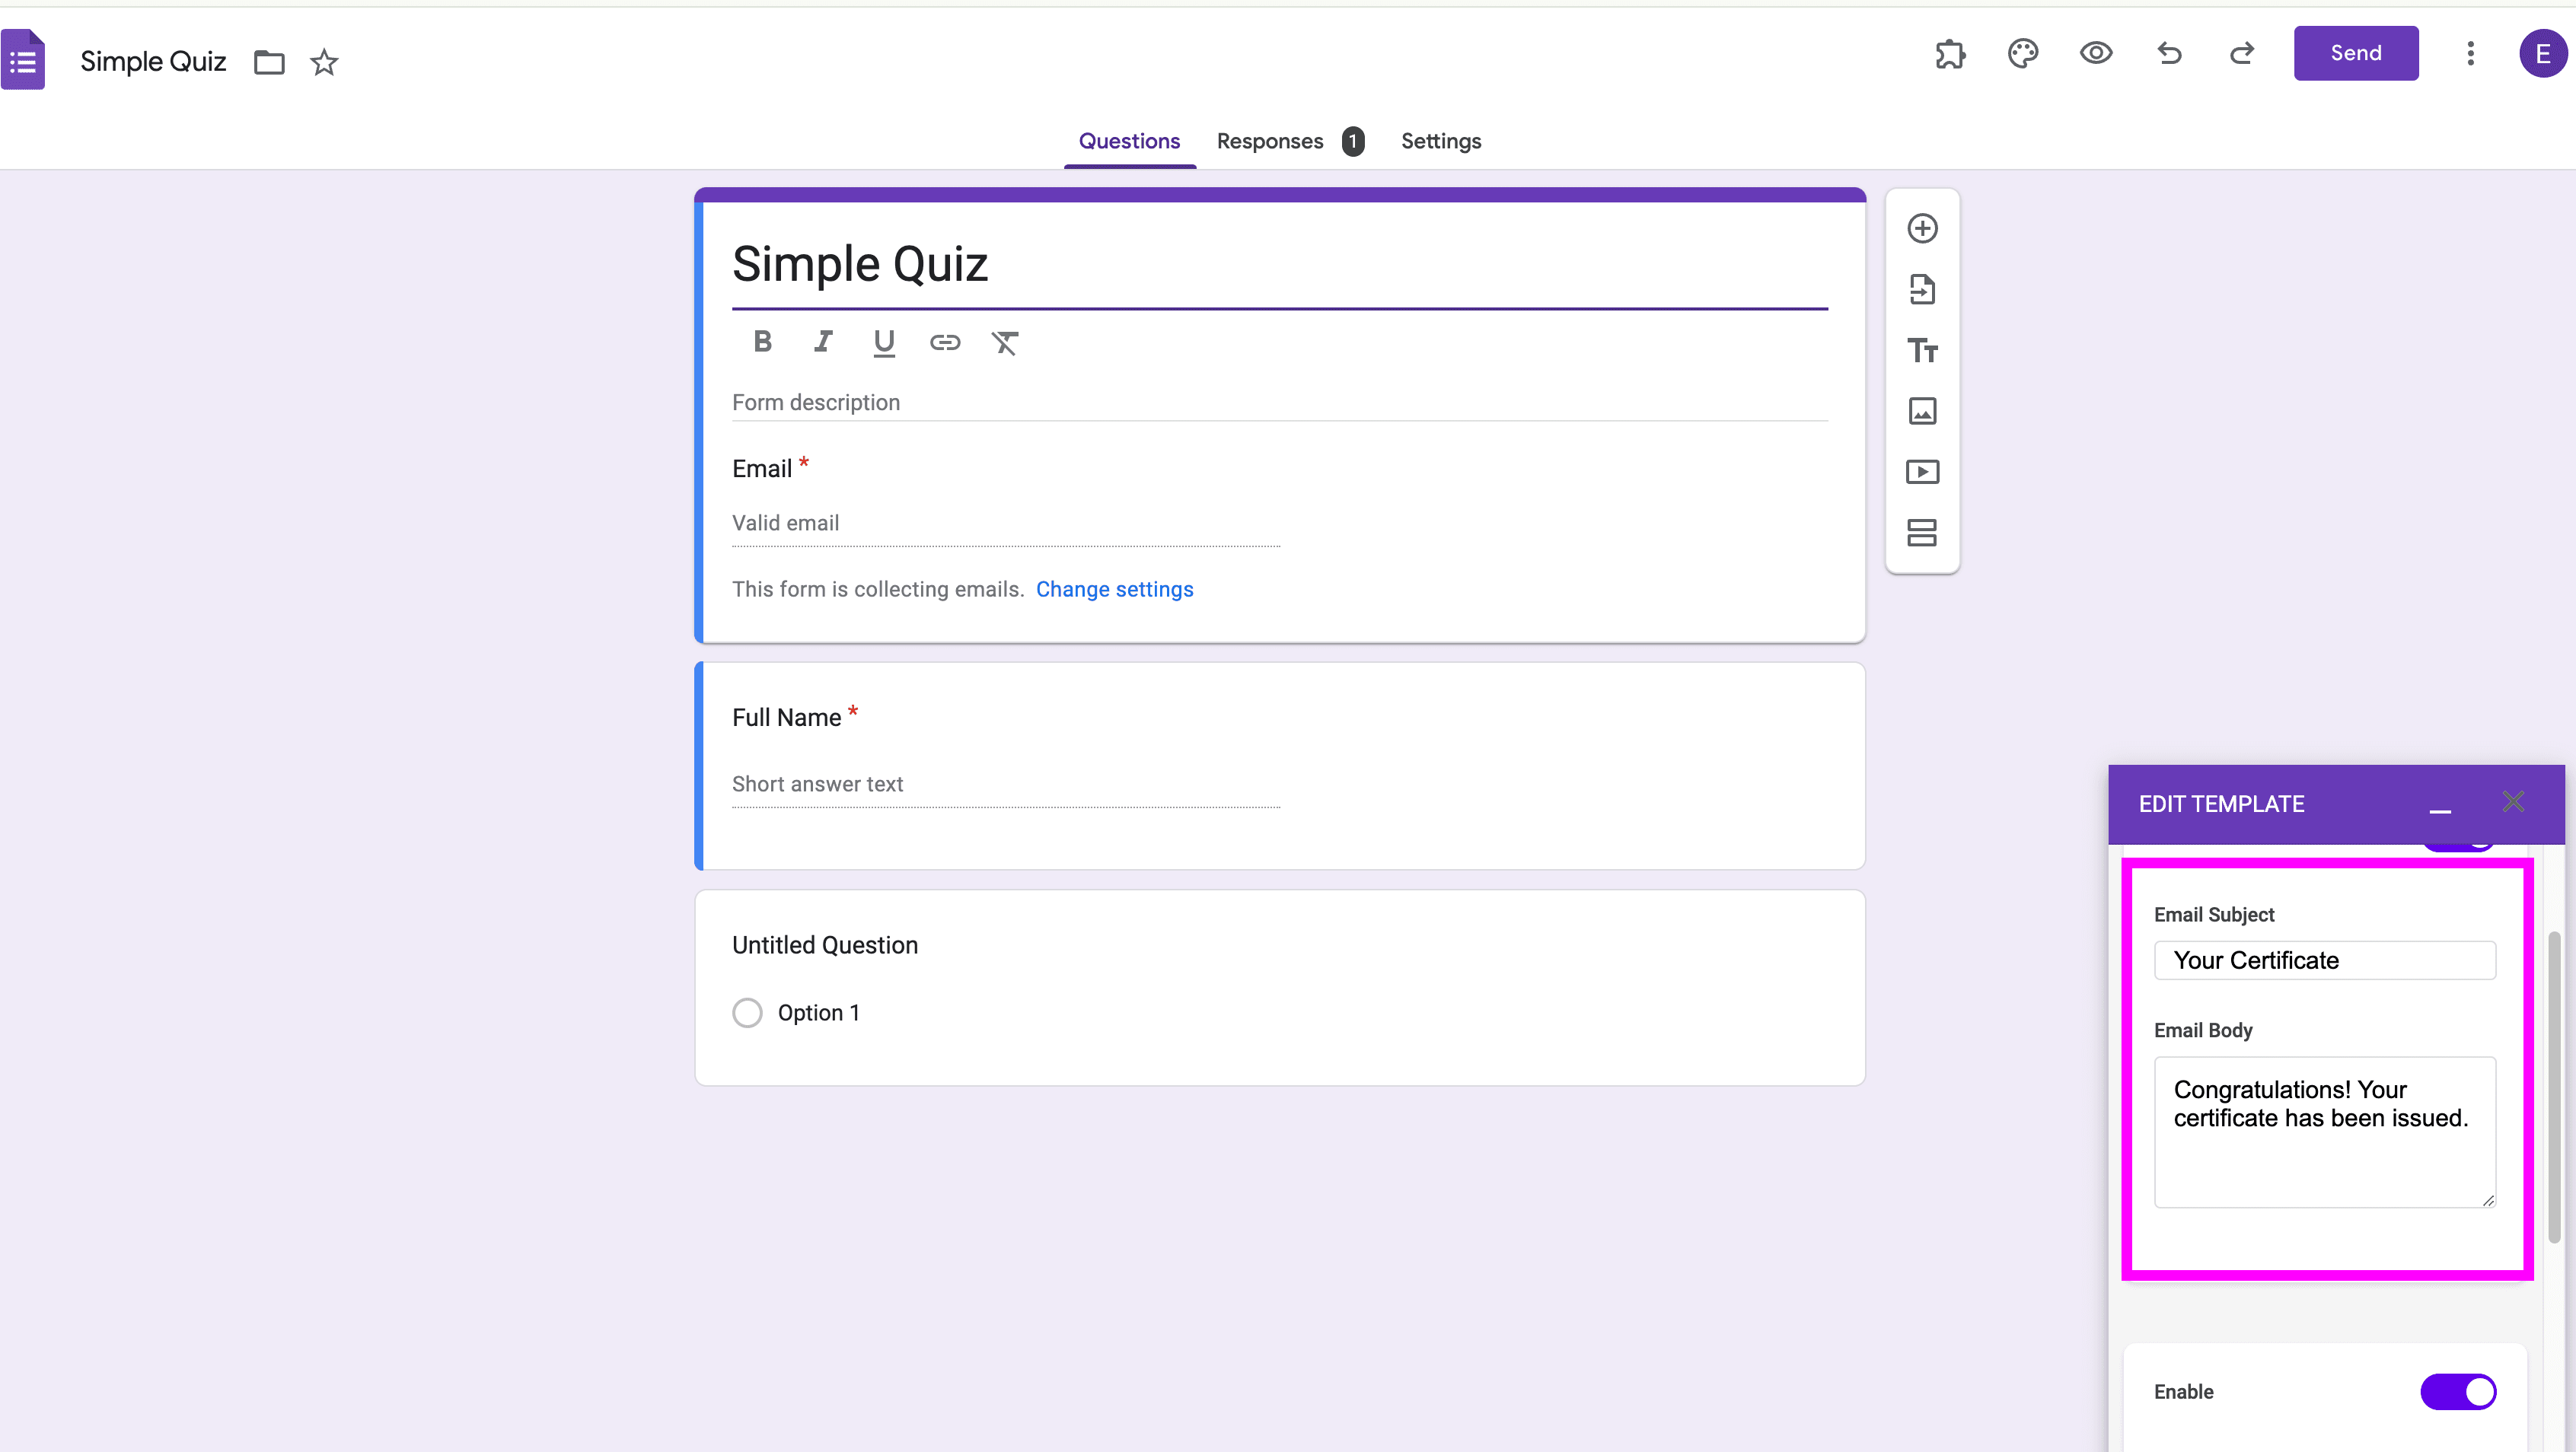
Set Up Email Notifications:
-
Turn on email notifications (default: off).

-
Customize the email subject and body.
-
-
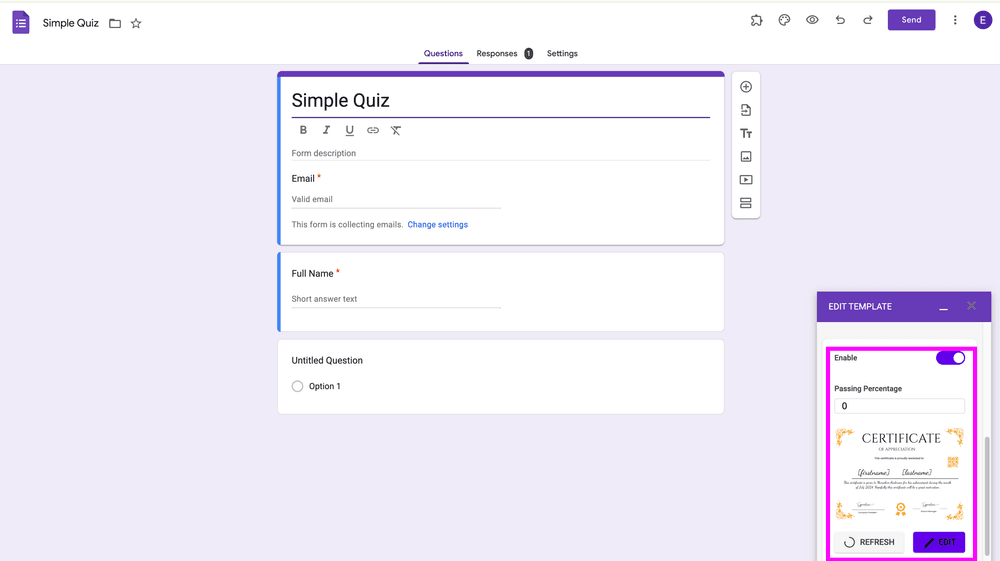
Activate Certificate Generation:
-
Enable certificates. A default certificate will be created.
-
Click the Edit button under the certificate preview to modify it.
-
-
Map Your Fields:
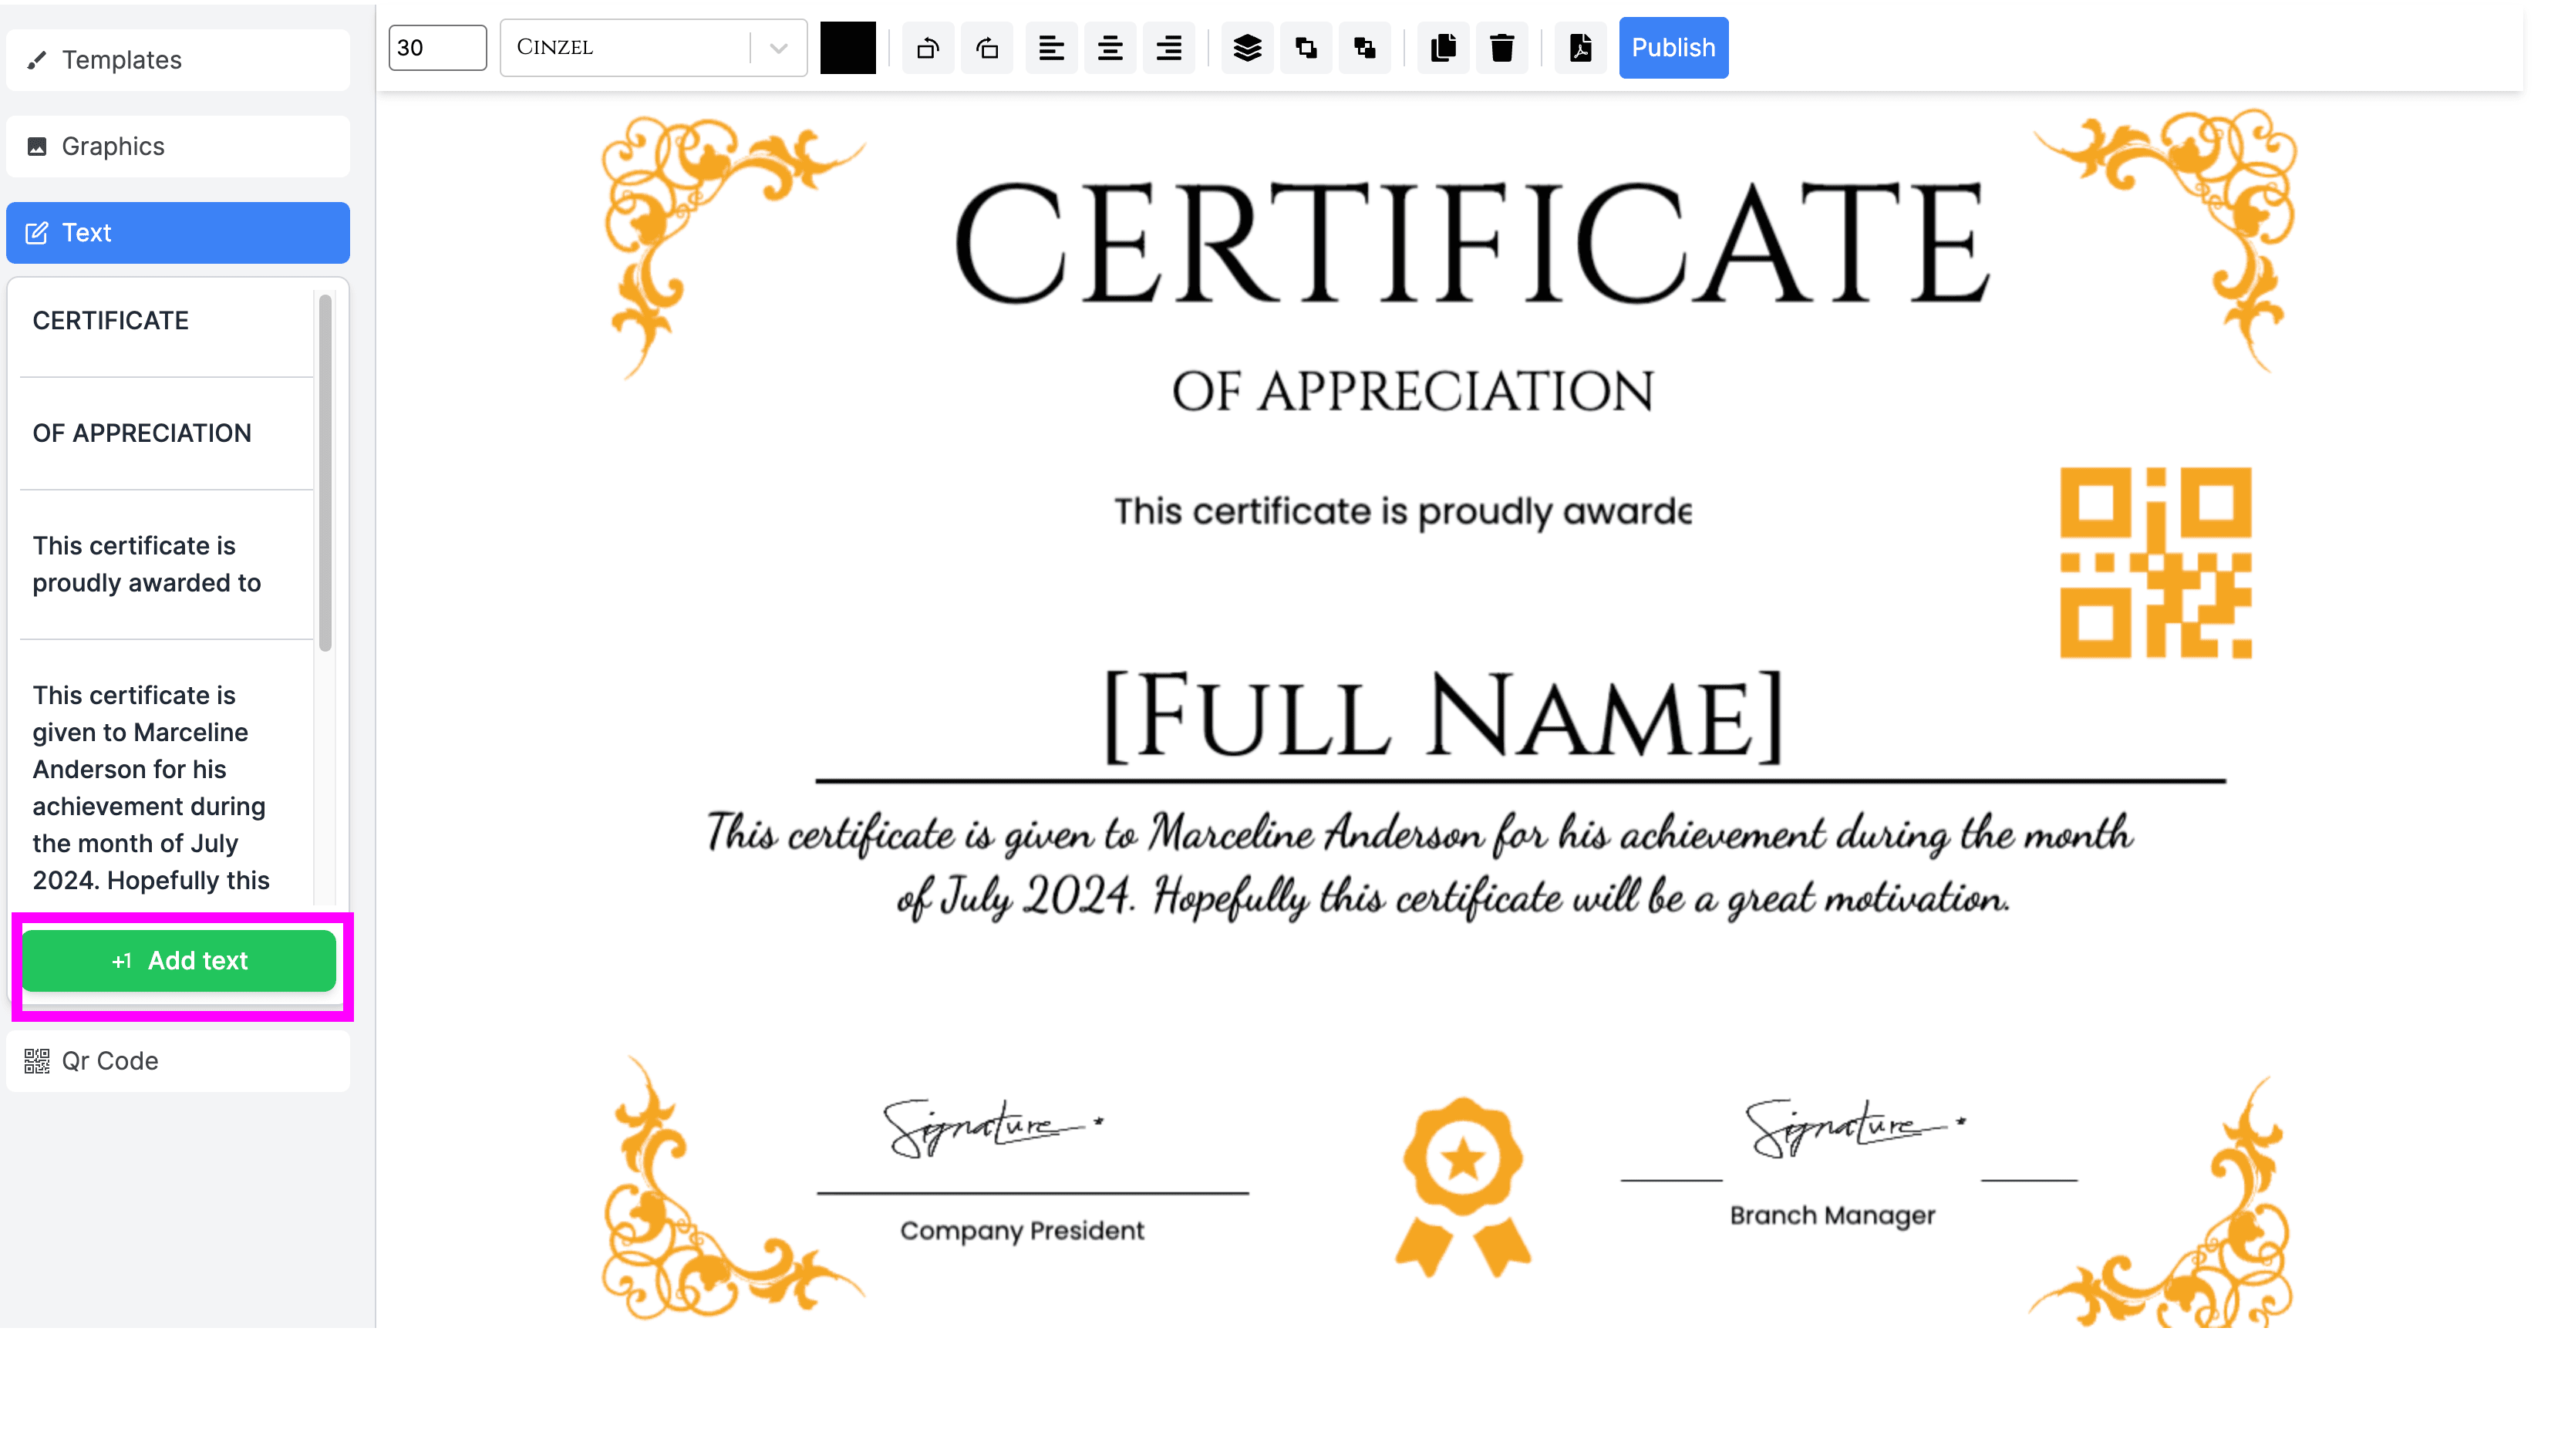
- To map your fields on the certificate to the corresponding form fields you need to add text item as shown below, by clicking Add text button

- Then you needto have the text enclosed in '[' ']' eg [Full Name]
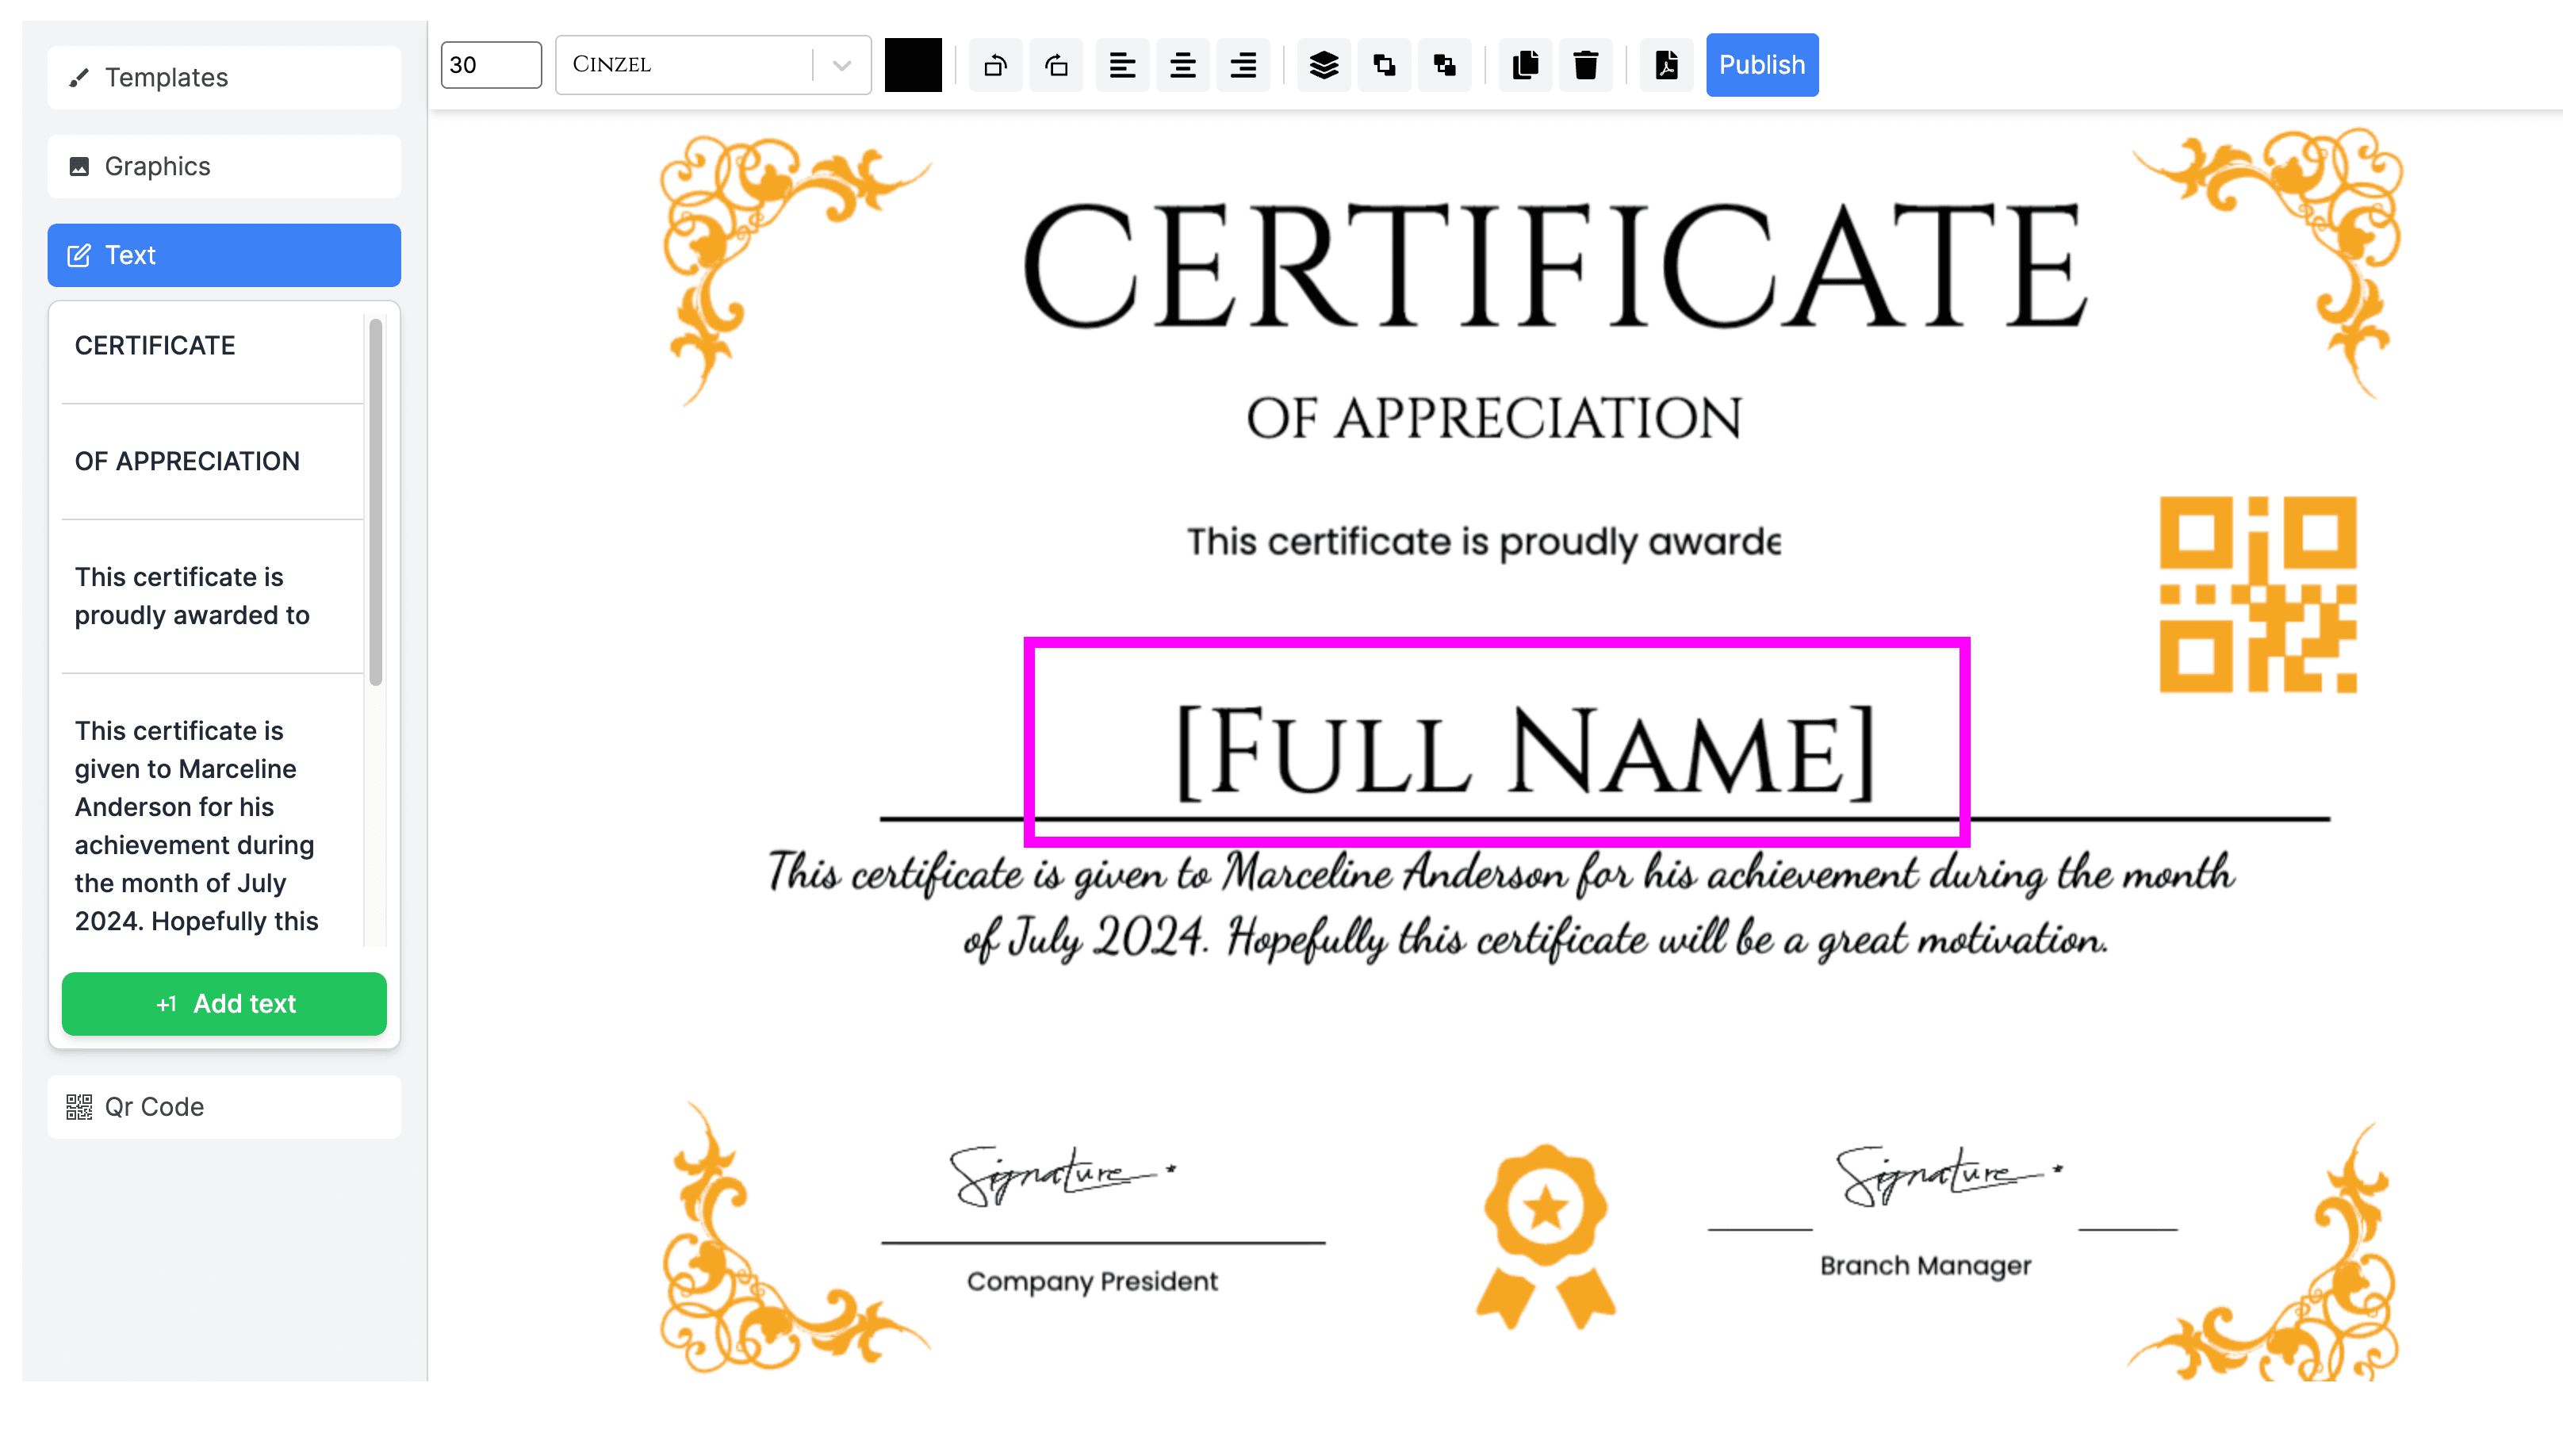
- Match placeholders like
[Full Name]to corresponding form fields.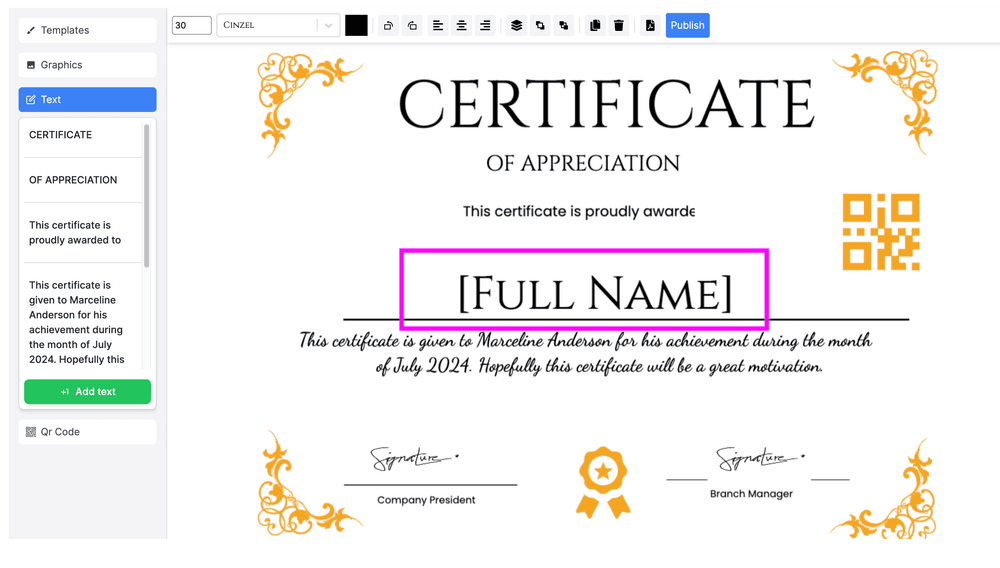
- Ensure predefined fields such as Full Name and Email are correctly mapped.
- To map your fields on the certificate to the corresponding form fields you need to add text item as shown below, by clicking Add text button
-
Click Publish to confirm.

Configuring Certificate Settings
Emailing Certificates
- Collect email addresses in the form and map the Email field for delivery.
Branding & Signatures
- Upload and position a logo or signature image using the customization panel.
![]()
QR Code
- Add a QR code to your certificate.
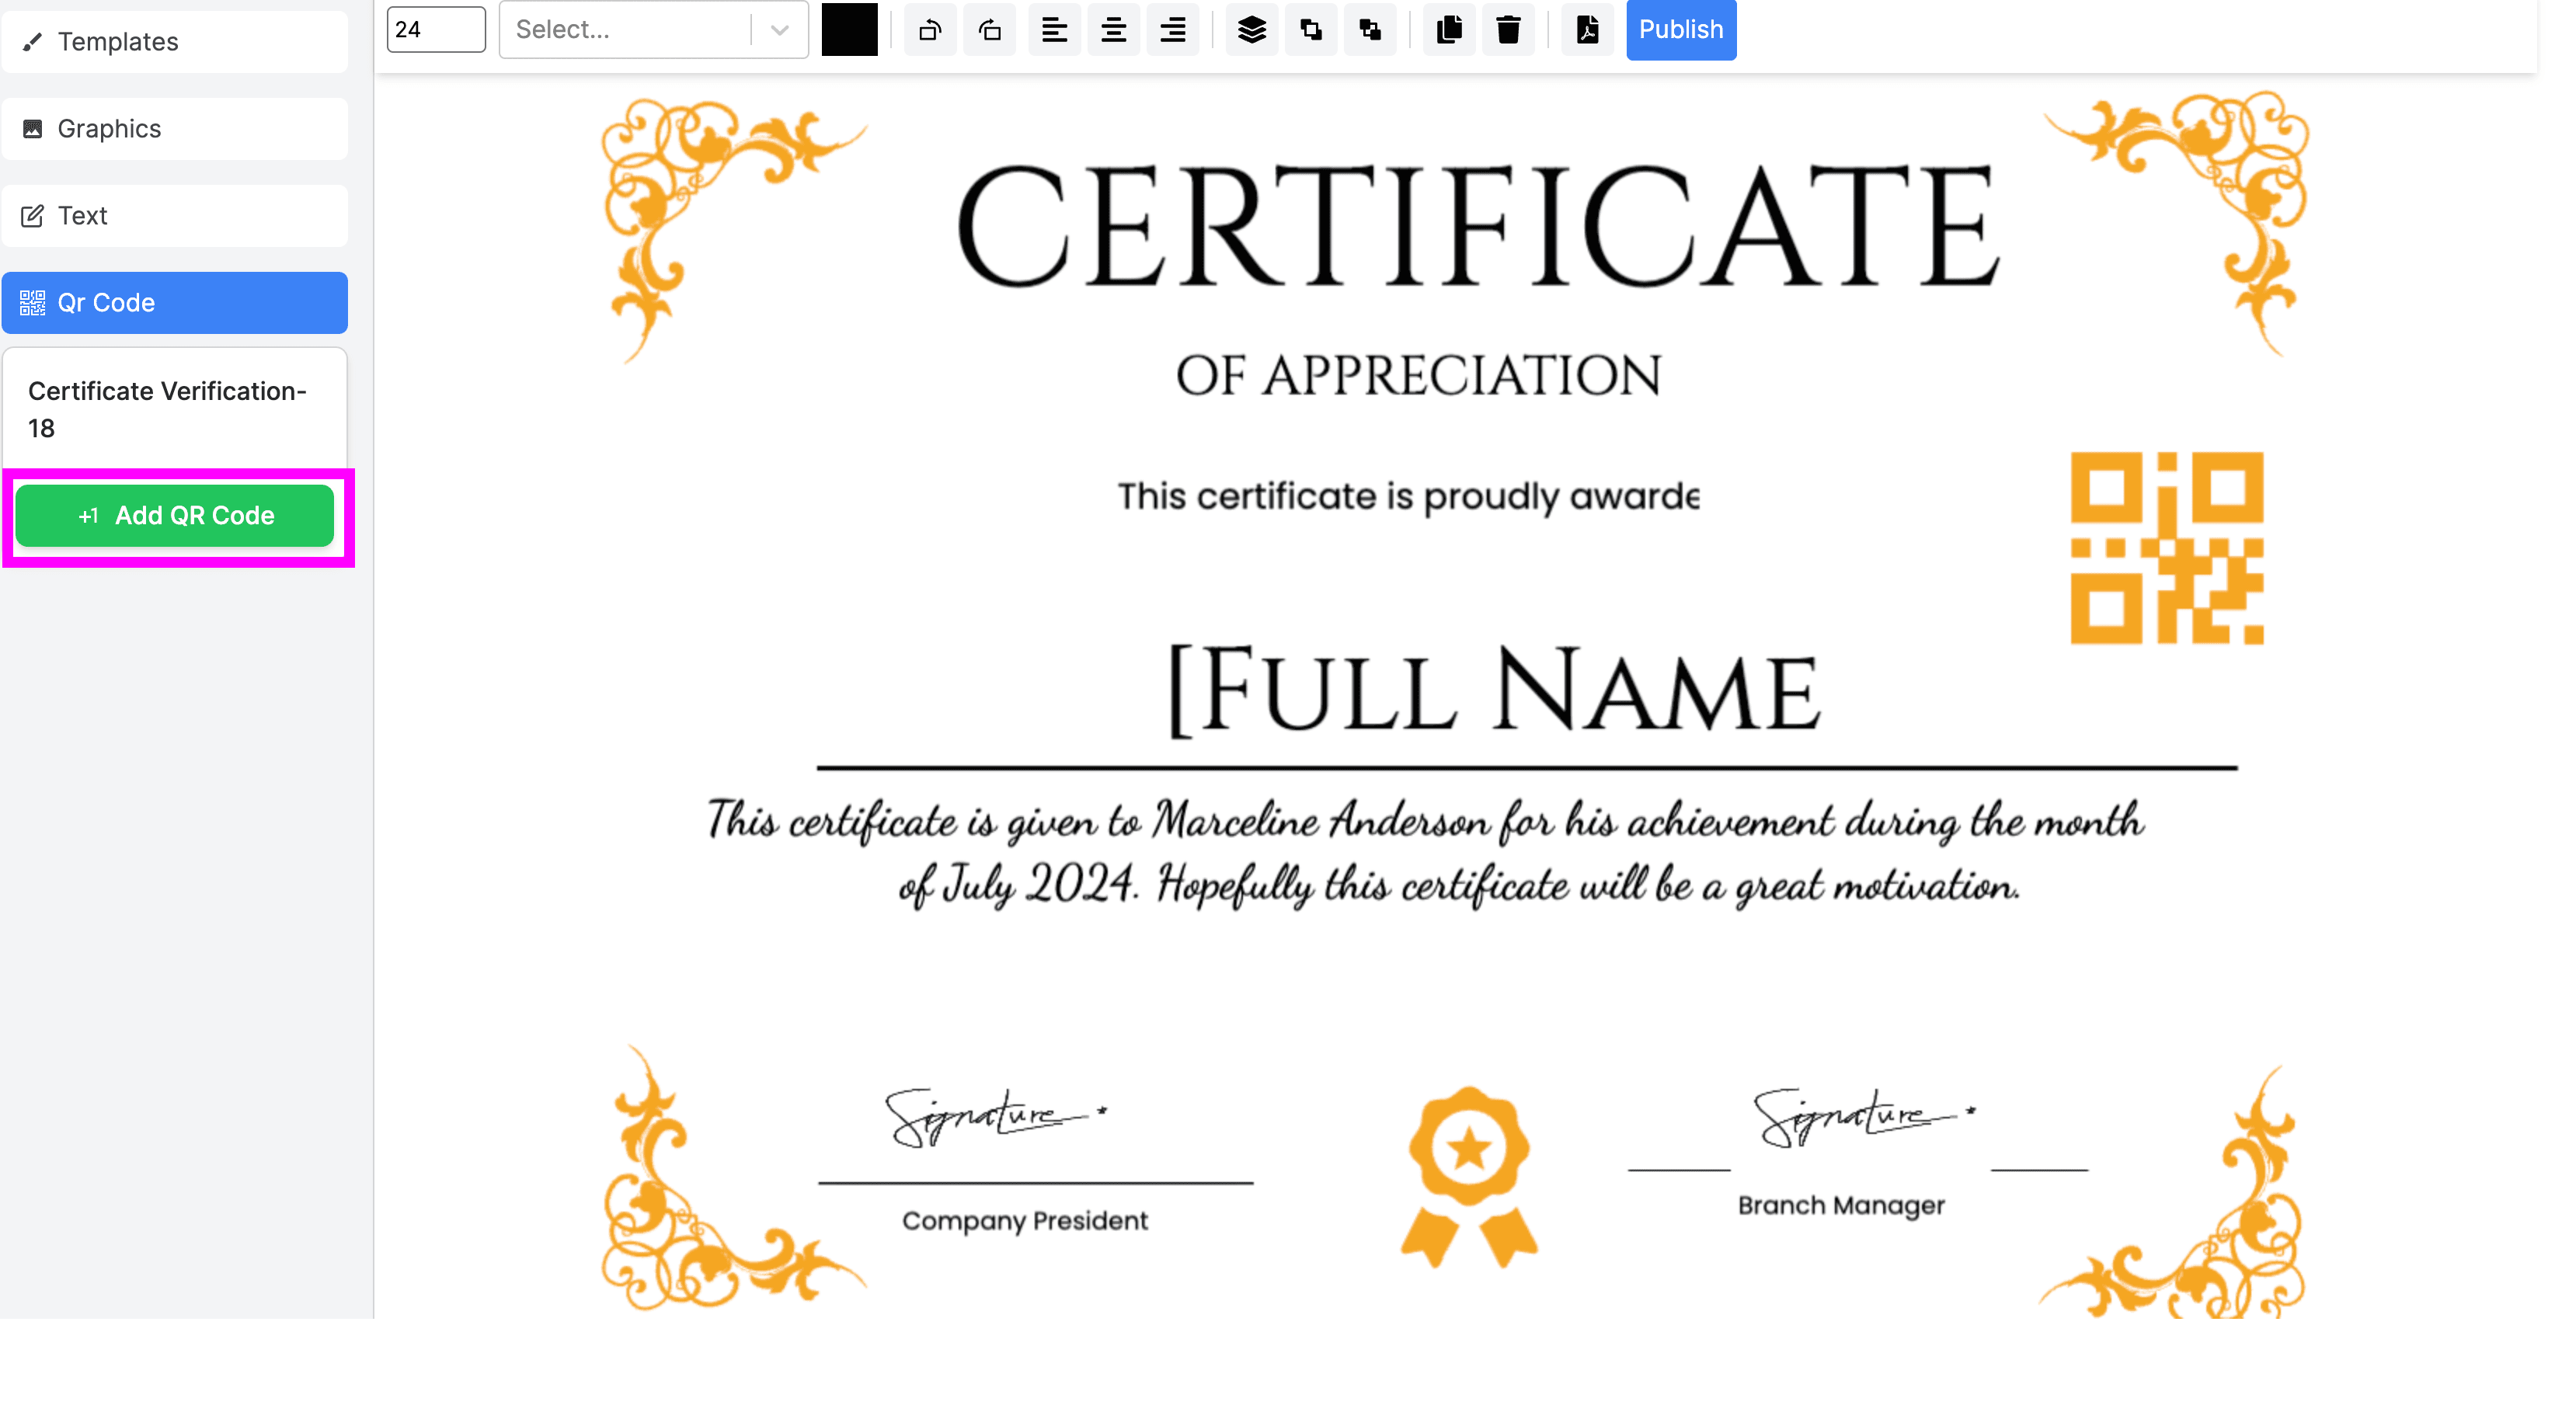
- Link it to a specific URL or the certificate verification page.
Troubleshooting
- No Certificate Generated:
- Ensure all required fields are mapped.
- Verify that permissions are granted to the add-on.
- Incorrect Information:
- Revisit field mappings to check accuracy.
- Email Not Received:
- Enable "Collect email addresses" in your form.
- Check spam/junk folders.
- Layout Issues:
- Check placeholders in your template.
- Adjust fonts, spacing, or images.
Updating or Changing Templates
- Access the add-on via the puzzle-piece menu.
- Click Template > Change/Update Template.
- Upload a new template and remap fields.
- Test with sample responses to confirm functionality.
Best Practices
- Use Clear Placeholders: Labels like
[Name],[Date], or[Course]make mapping easier. - **Test Before Launch