

Certificate Design & Customization
Learn how to make your certificates stand out by adding text, logos, signatures, and QR codes. This guide walks you through each step in the design editor.
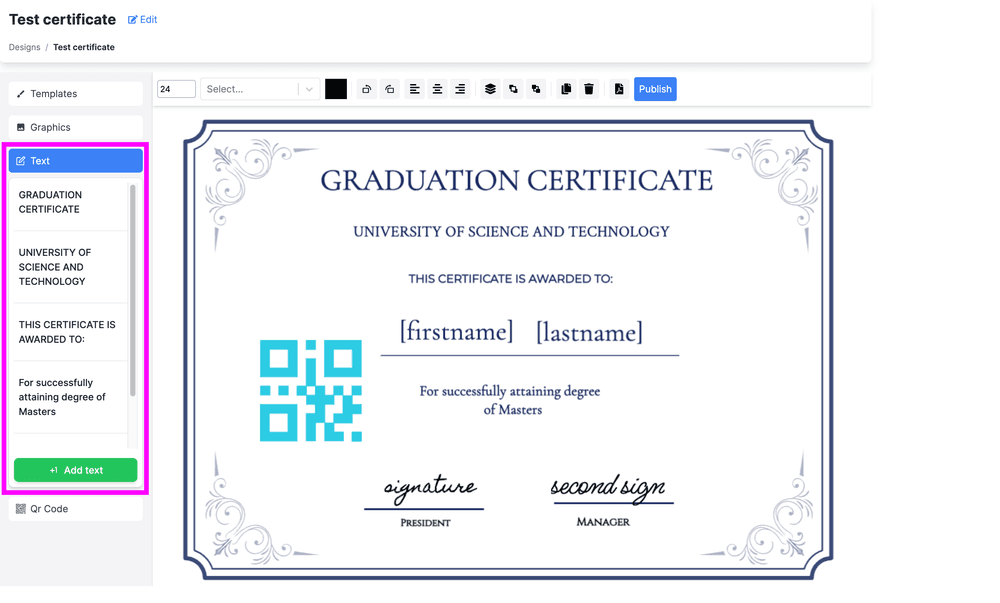
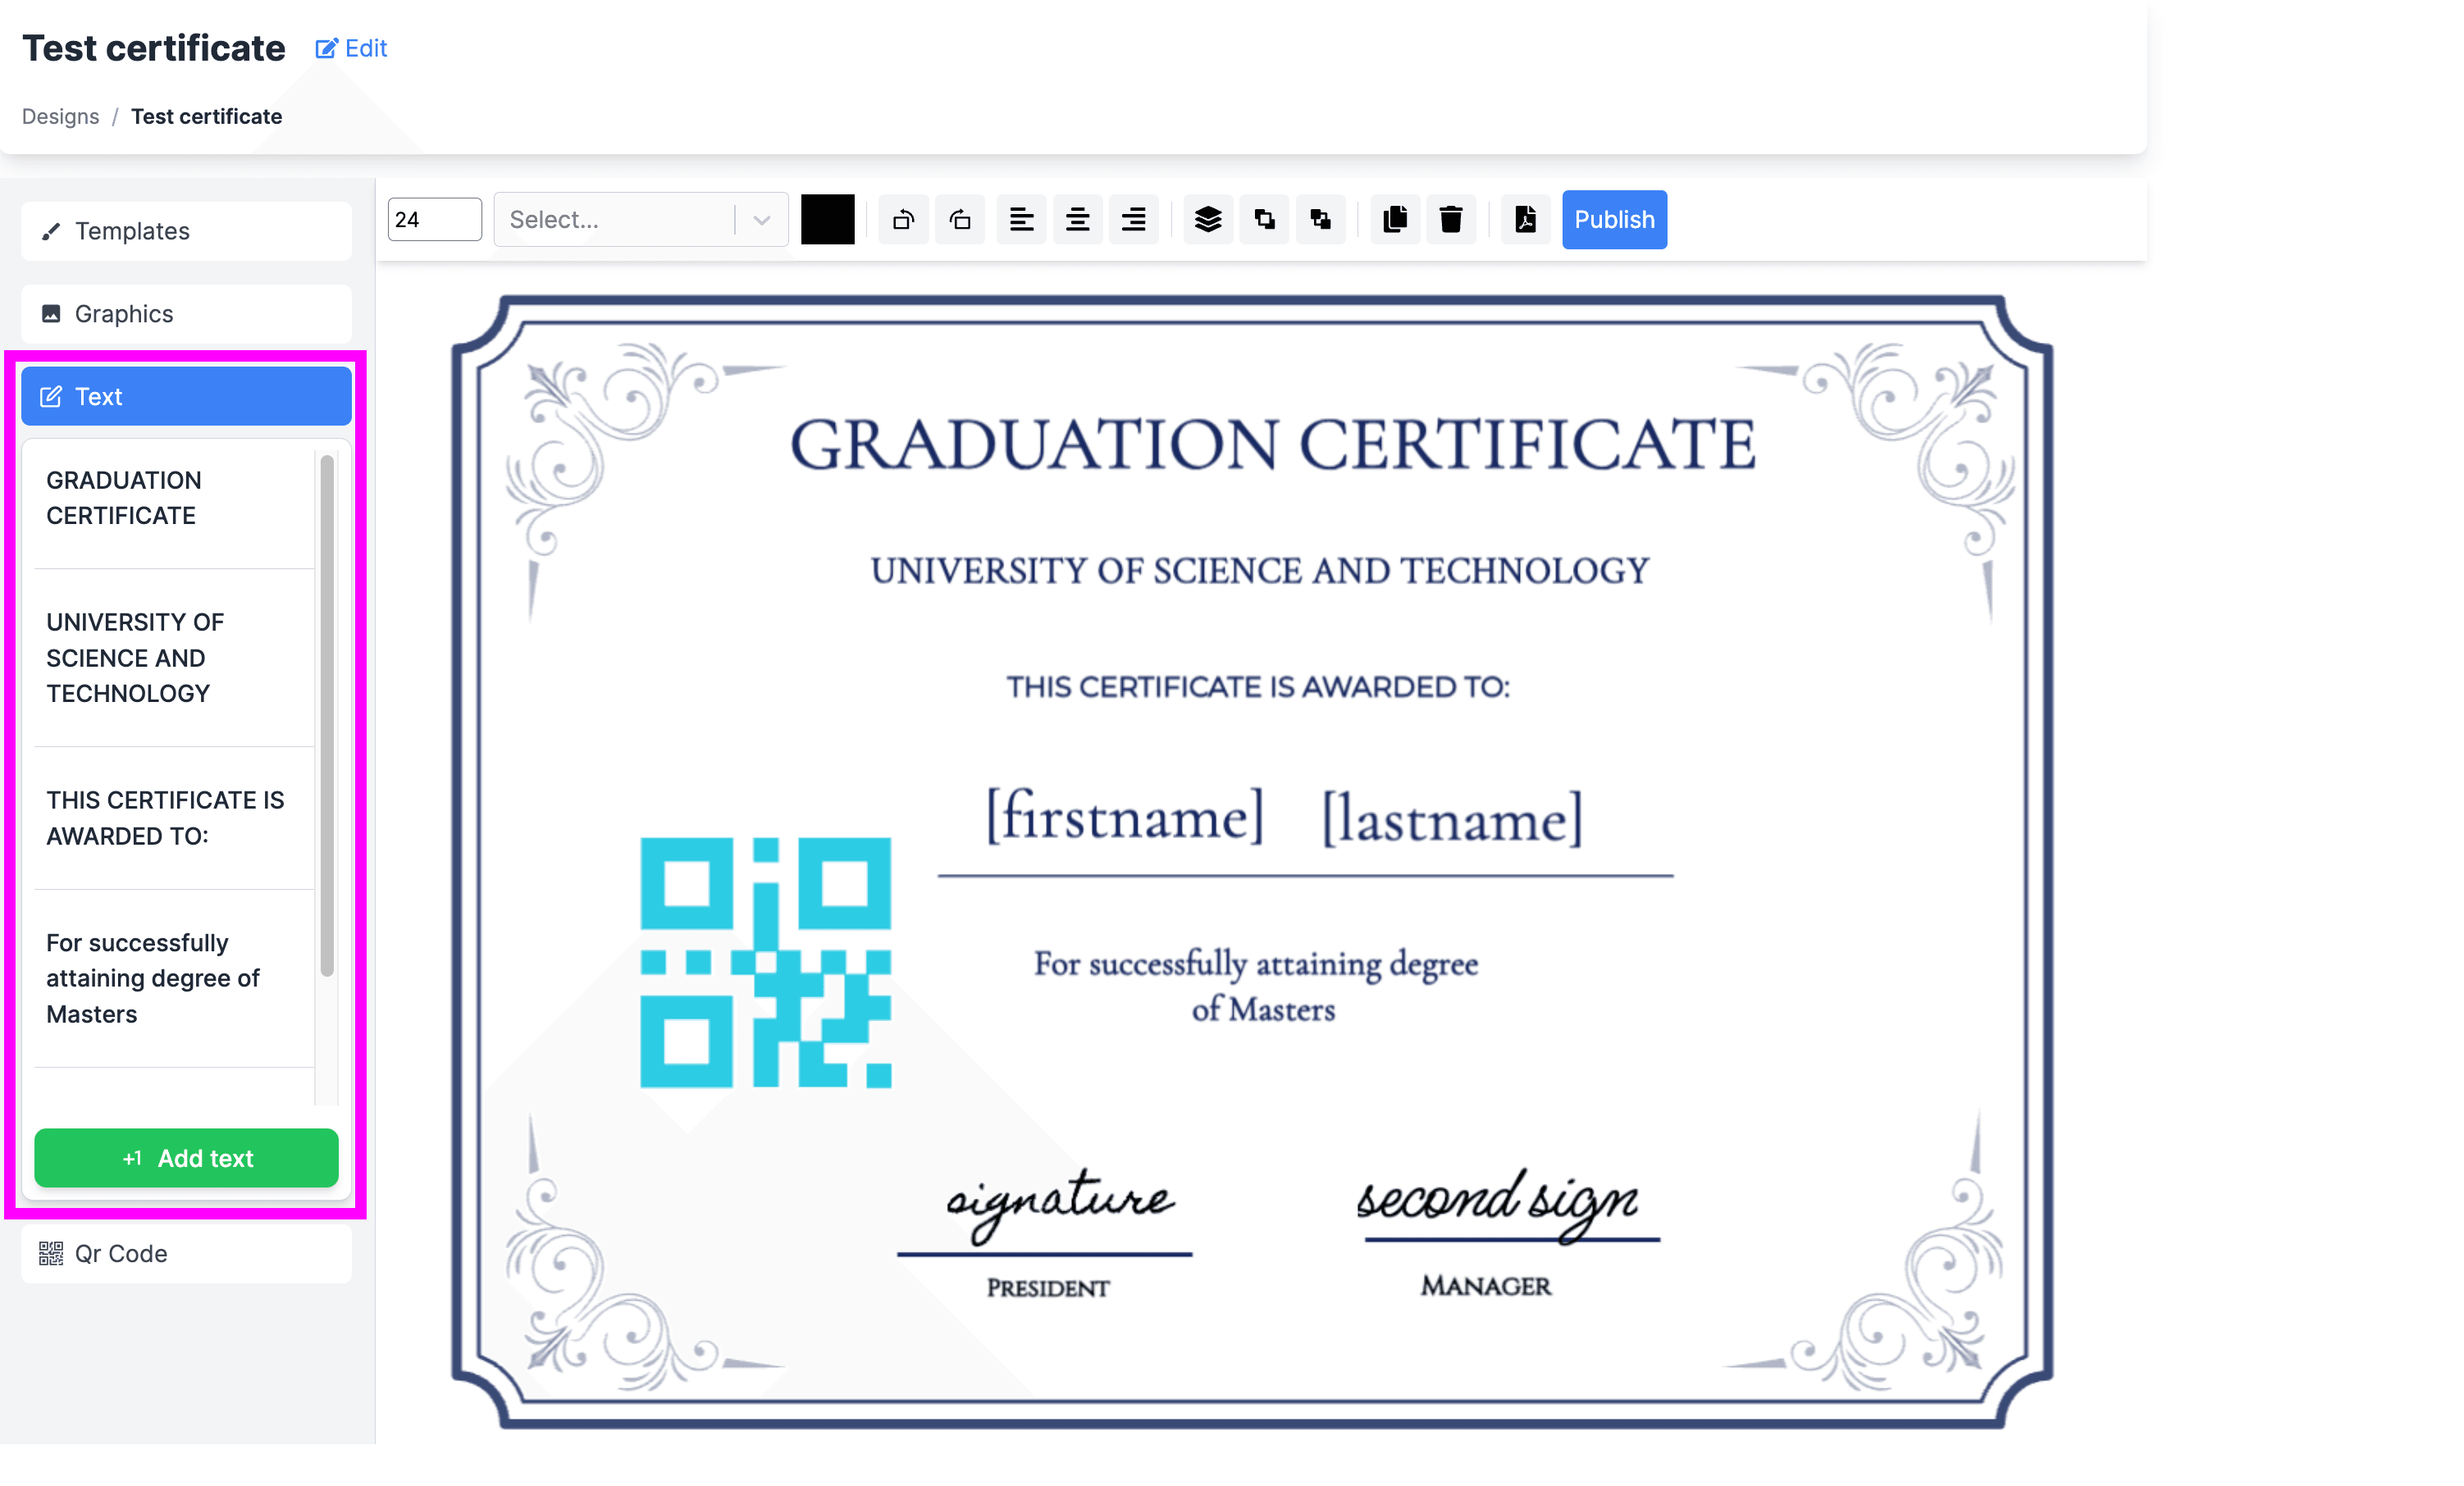
1. Adding Text
-
Open the Text Panel
- On the left sidebar, click Text.
- Click Add Text to insert a new text item onto your certificate.
-
Editing Your Text
- Double-click the newly inserted text item to make it editable.
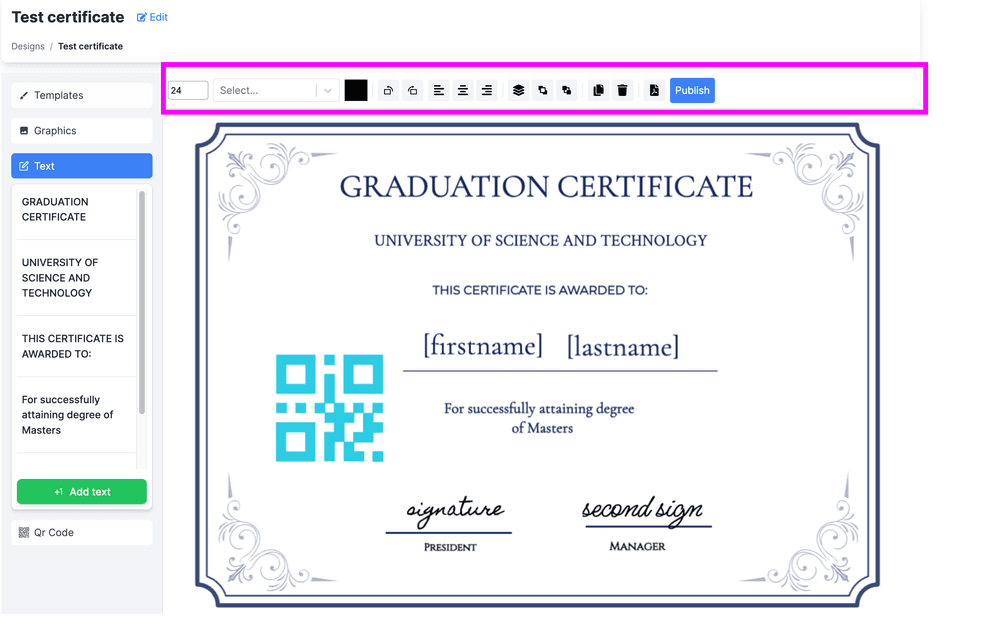
- While the text item is selected, you’ll see a toolbar at the top that lets you:
- Change Color: Pick from a color palette to match your branding.
- Select Font Type or Size: Choose from available fonts and adjust text size.
- Edit or Delete: Click the respective icons to make further edits or remove the text.
-
Position and Styling
- Drag and drop the text box to position it anywhere on the certificate.
- Resize the text box by pulling on the corner handles to fit your layout.

2. Adding Logos
-
Upload from Your Computer
- Click Graphics on the left sidebar.
- Select Upload Graphics to open a file dialog.
- Choose the logo file from your machine.

-
Resize and Position
- Once uploaded, the logo will appear on the canvas.
- Click and drag the logo to move it to the desired spot on your certificate.
- Use the handles around the image to resize or scale it.

Tip: Keep your logo high-resolution for a polished, professional look.
3. Adding Signatures
-
Upload Signature Image
- Similar to logos, you can upload a signature image in the Graphics section.
- Click Upload Graphics and select your signature file (e.g., PNG with a transparent background).
-
Edit and Align
- Position the signature under the appropriate field (e.g., “Authorized By,” “Instructor’s Signature,” etc.).
- Resize as needed so it fits neatly on the certificate.
Best Practice: A transparent PNG or SVG signature file looks cleaner and more authentic.
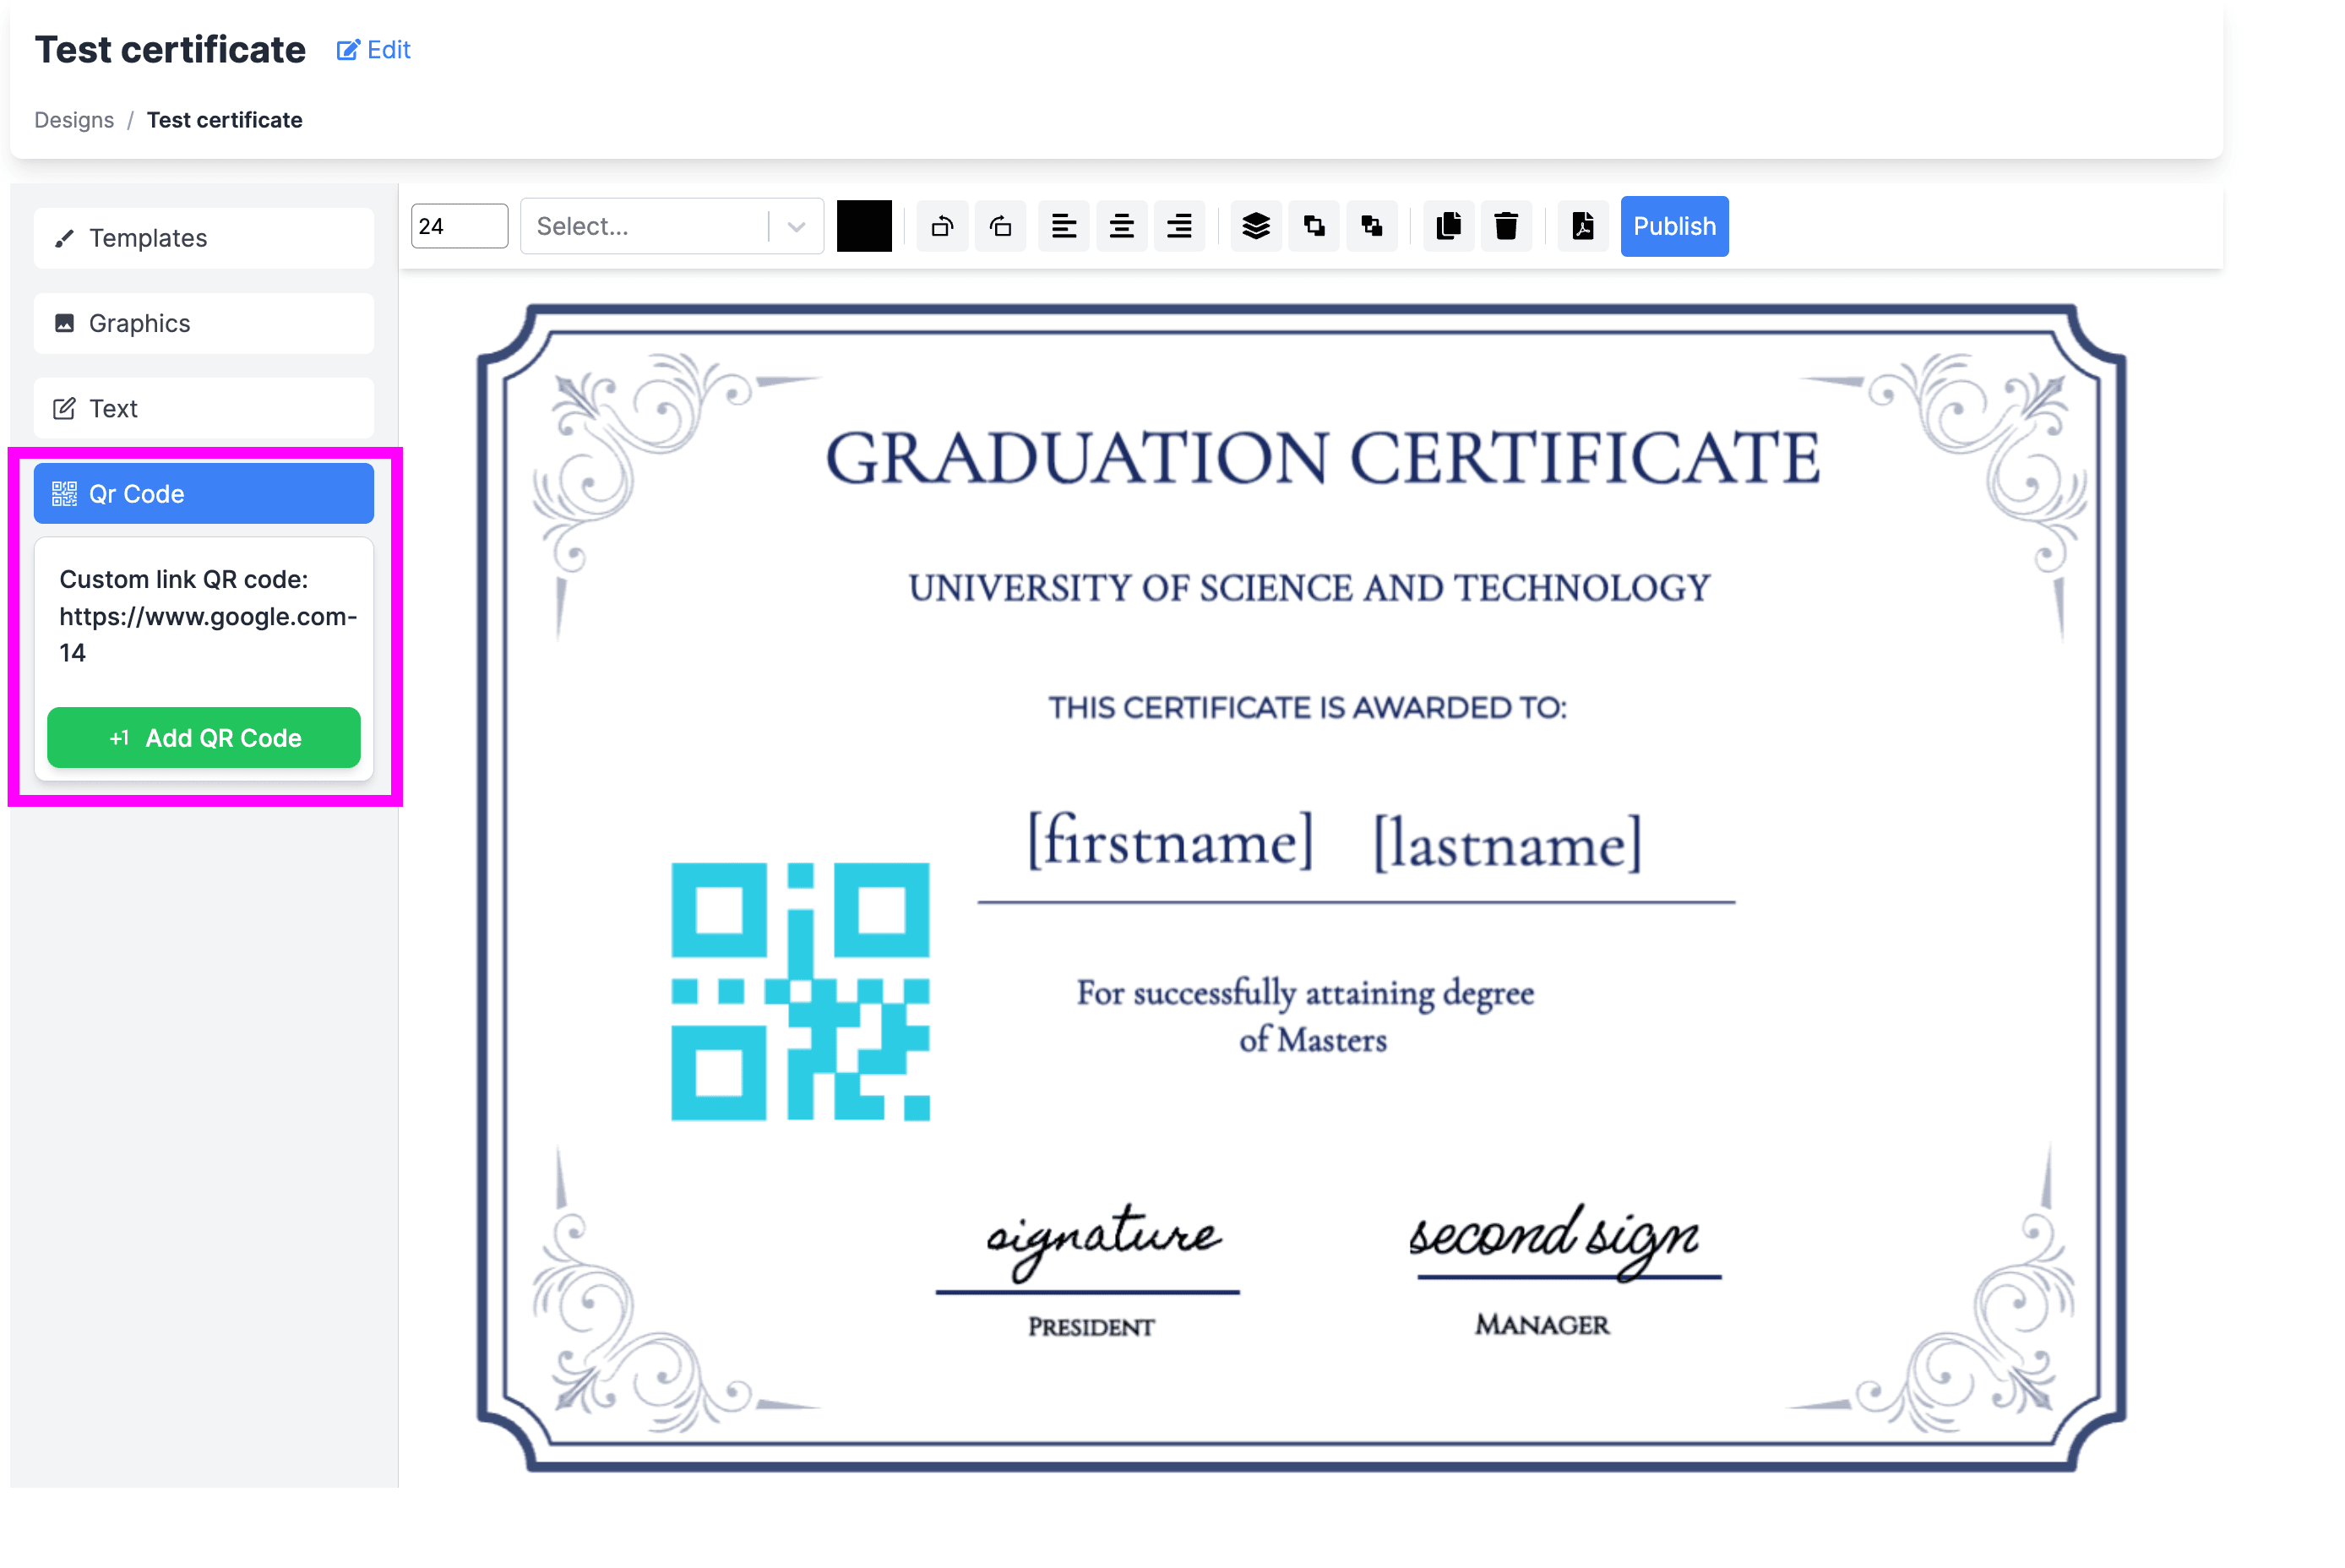
4. Adding QR Codes
- Open the QR Menu
- Click QR on the left sidebar.
- Select Add QR to insert a QR code placeholder on your certificate.
-
Choose a QR Code Type
- Verification Link QR: Automatically links to a page where the certificate can be verified.
- Custom Link QR: Enter your own URL to direct recipients to any web page you choose.
-
Adjust QR Code Settings
- Once inserted, you can:
- Delete the QR code if needed.
- Resize or reposition it anywhere on the canvas by dragging.
- Change Color from the top toolbar if you prefer a custom color scheme.
- Once inserted, you can:
-
Verification Link QR
- Recipients can scan this code to confirm the authenticity of their certificate, boosting credibility and trust.
Summary
- Text: Add & style text with the Text panel.
- Logos: Upload images in the Graphics section; then resize and position them.
- Signatures: Treat them like logos—upload, place, and resize.
- QR Codes: Choose between a verification link or a custom link to enhance your certificate’s functionality.
With these elements, you can fully customize your certificates, ensuring they look professional and contain all relevant information. Experiment with different layouts, colors, and sizes until you’re happy with the final design. Happy creating!