

Bulk Issuance of Certificates
Issuing certificates to a large number of recipients is straightforward and efficient with our app. Follow these steps to complete the process:
Step 1: Log In to Your Account
Begin by logging into your account. Once logged in, you’ll land on the dashboard where all your options are accessible.
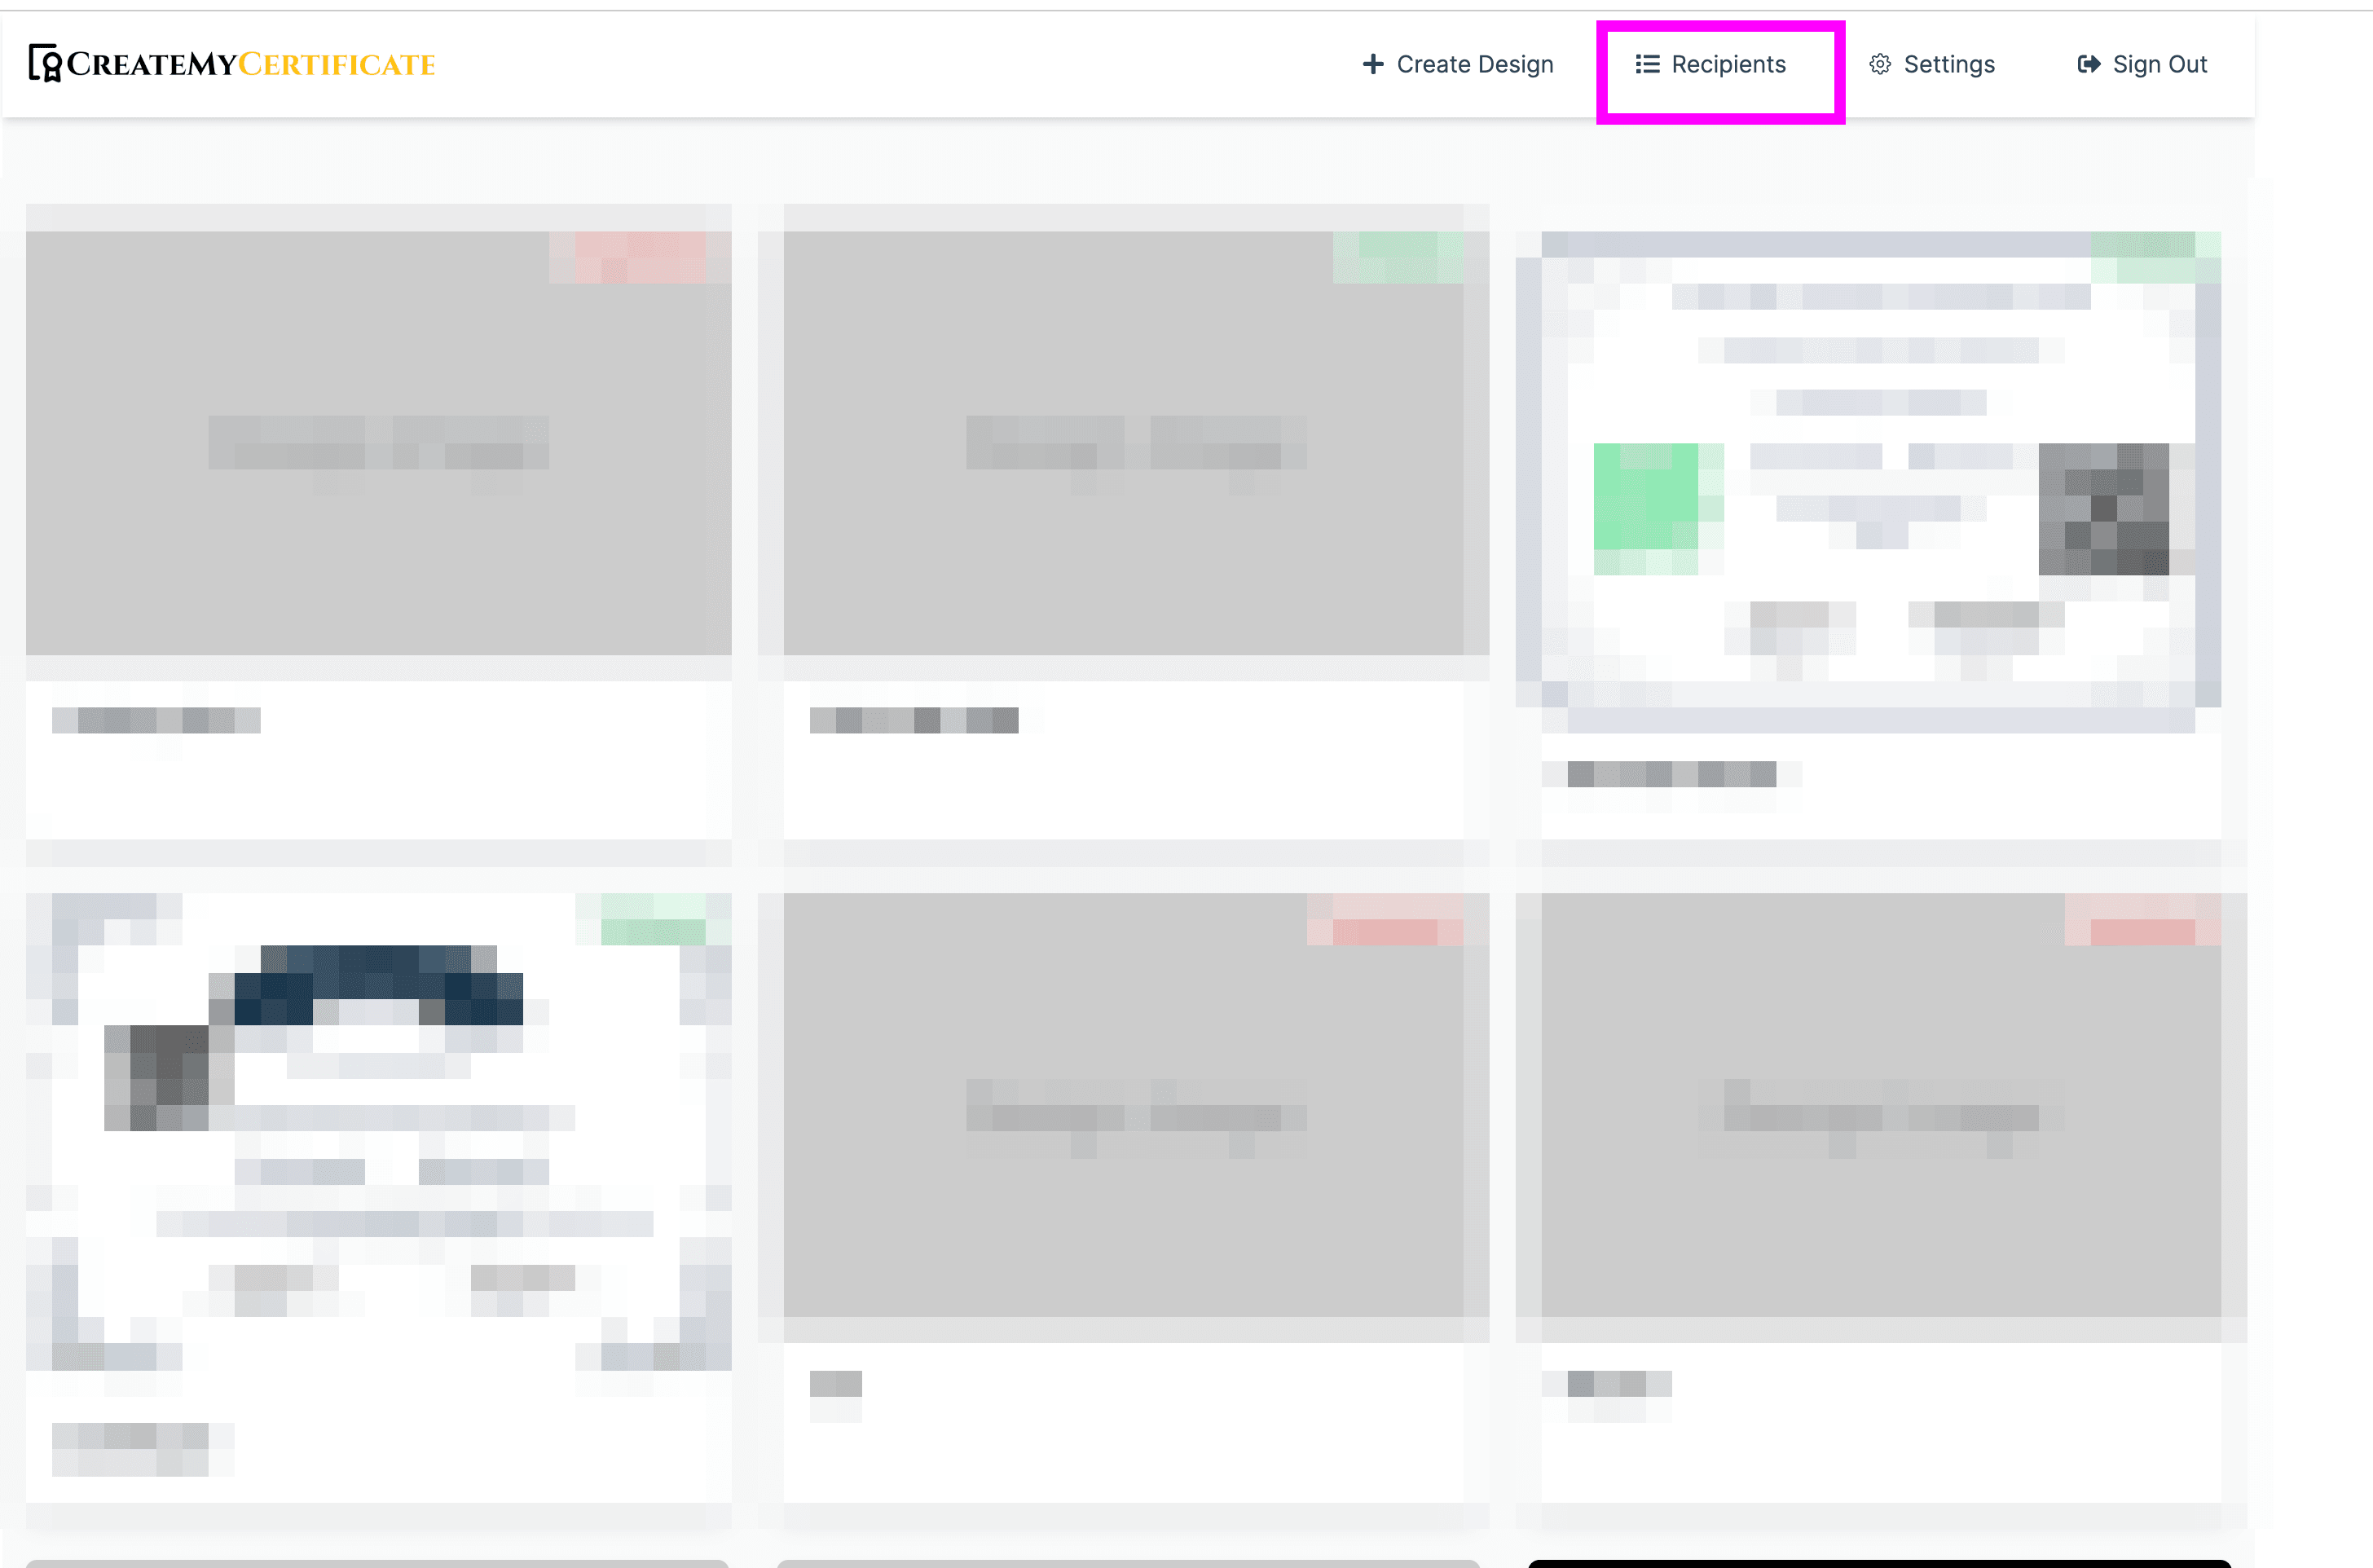
Step 2: Go to the Recipients Section
Navigate to the Recipients section from the menu. This is where you can create and manage recipient groups for bulk issuance.
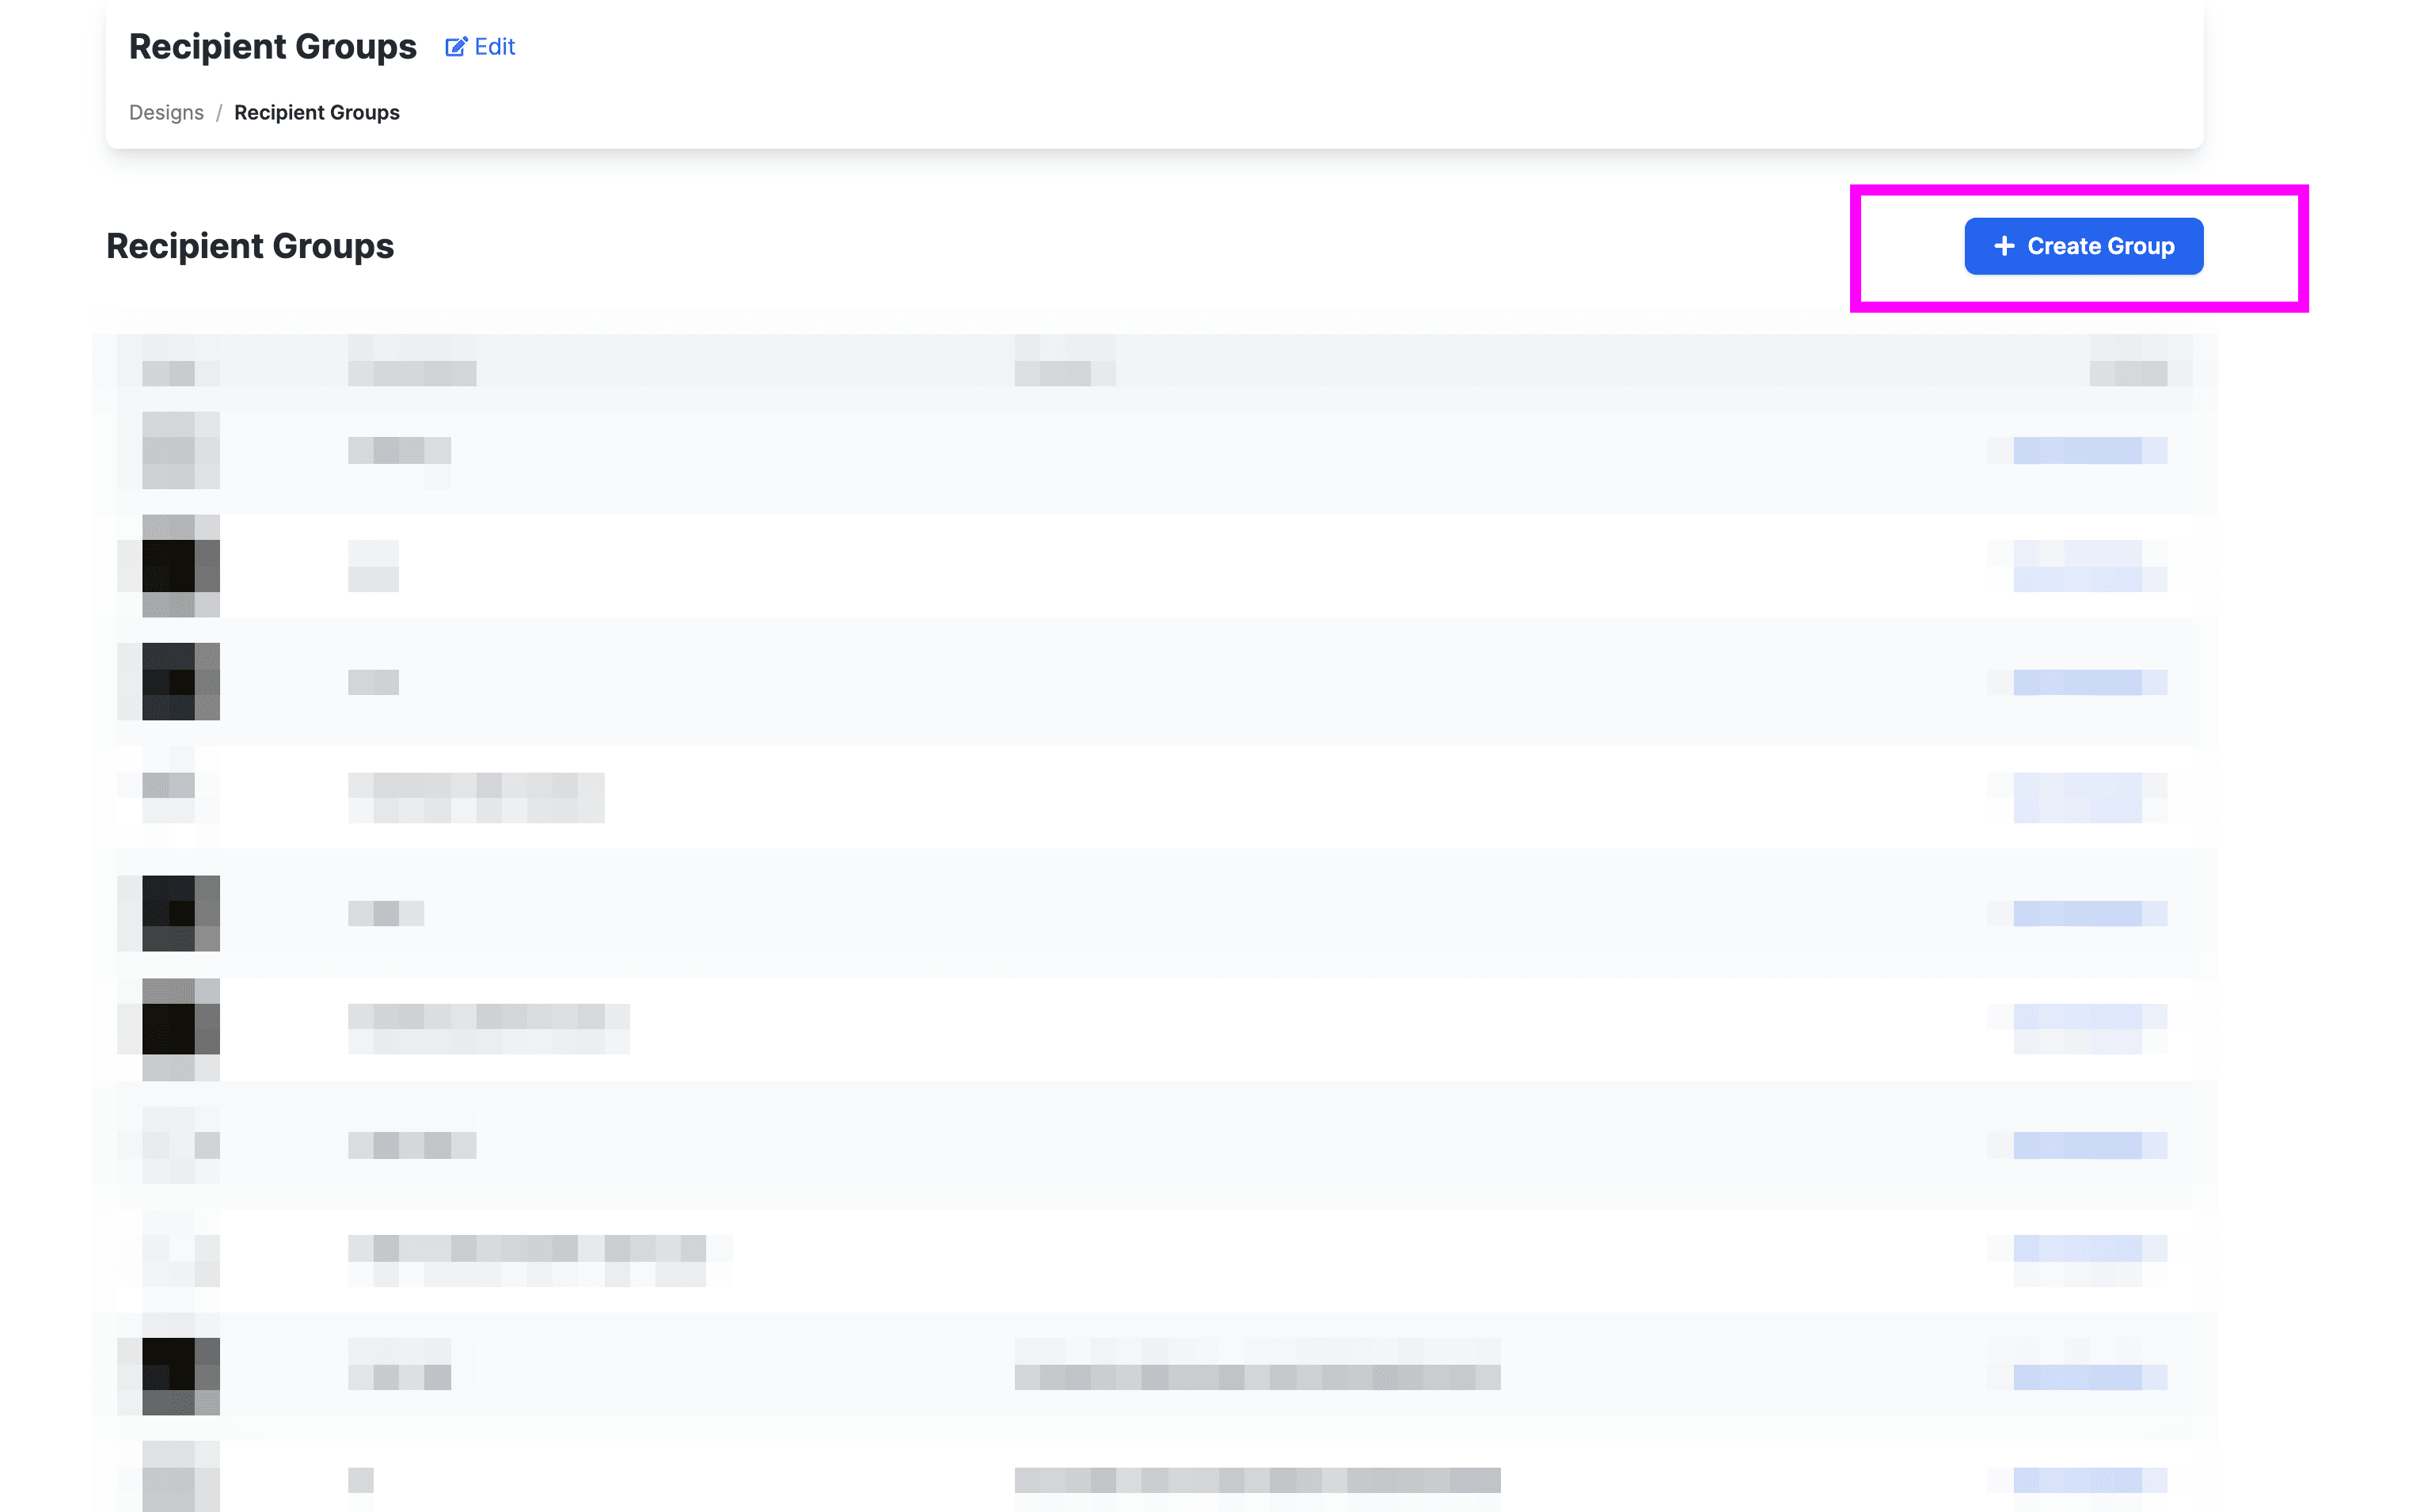
Step 3: Create a Group
- Click the Create Group button.
- Enter a name for your group (e.g., "Graduation Batch 2024" or "Employee Recognition").
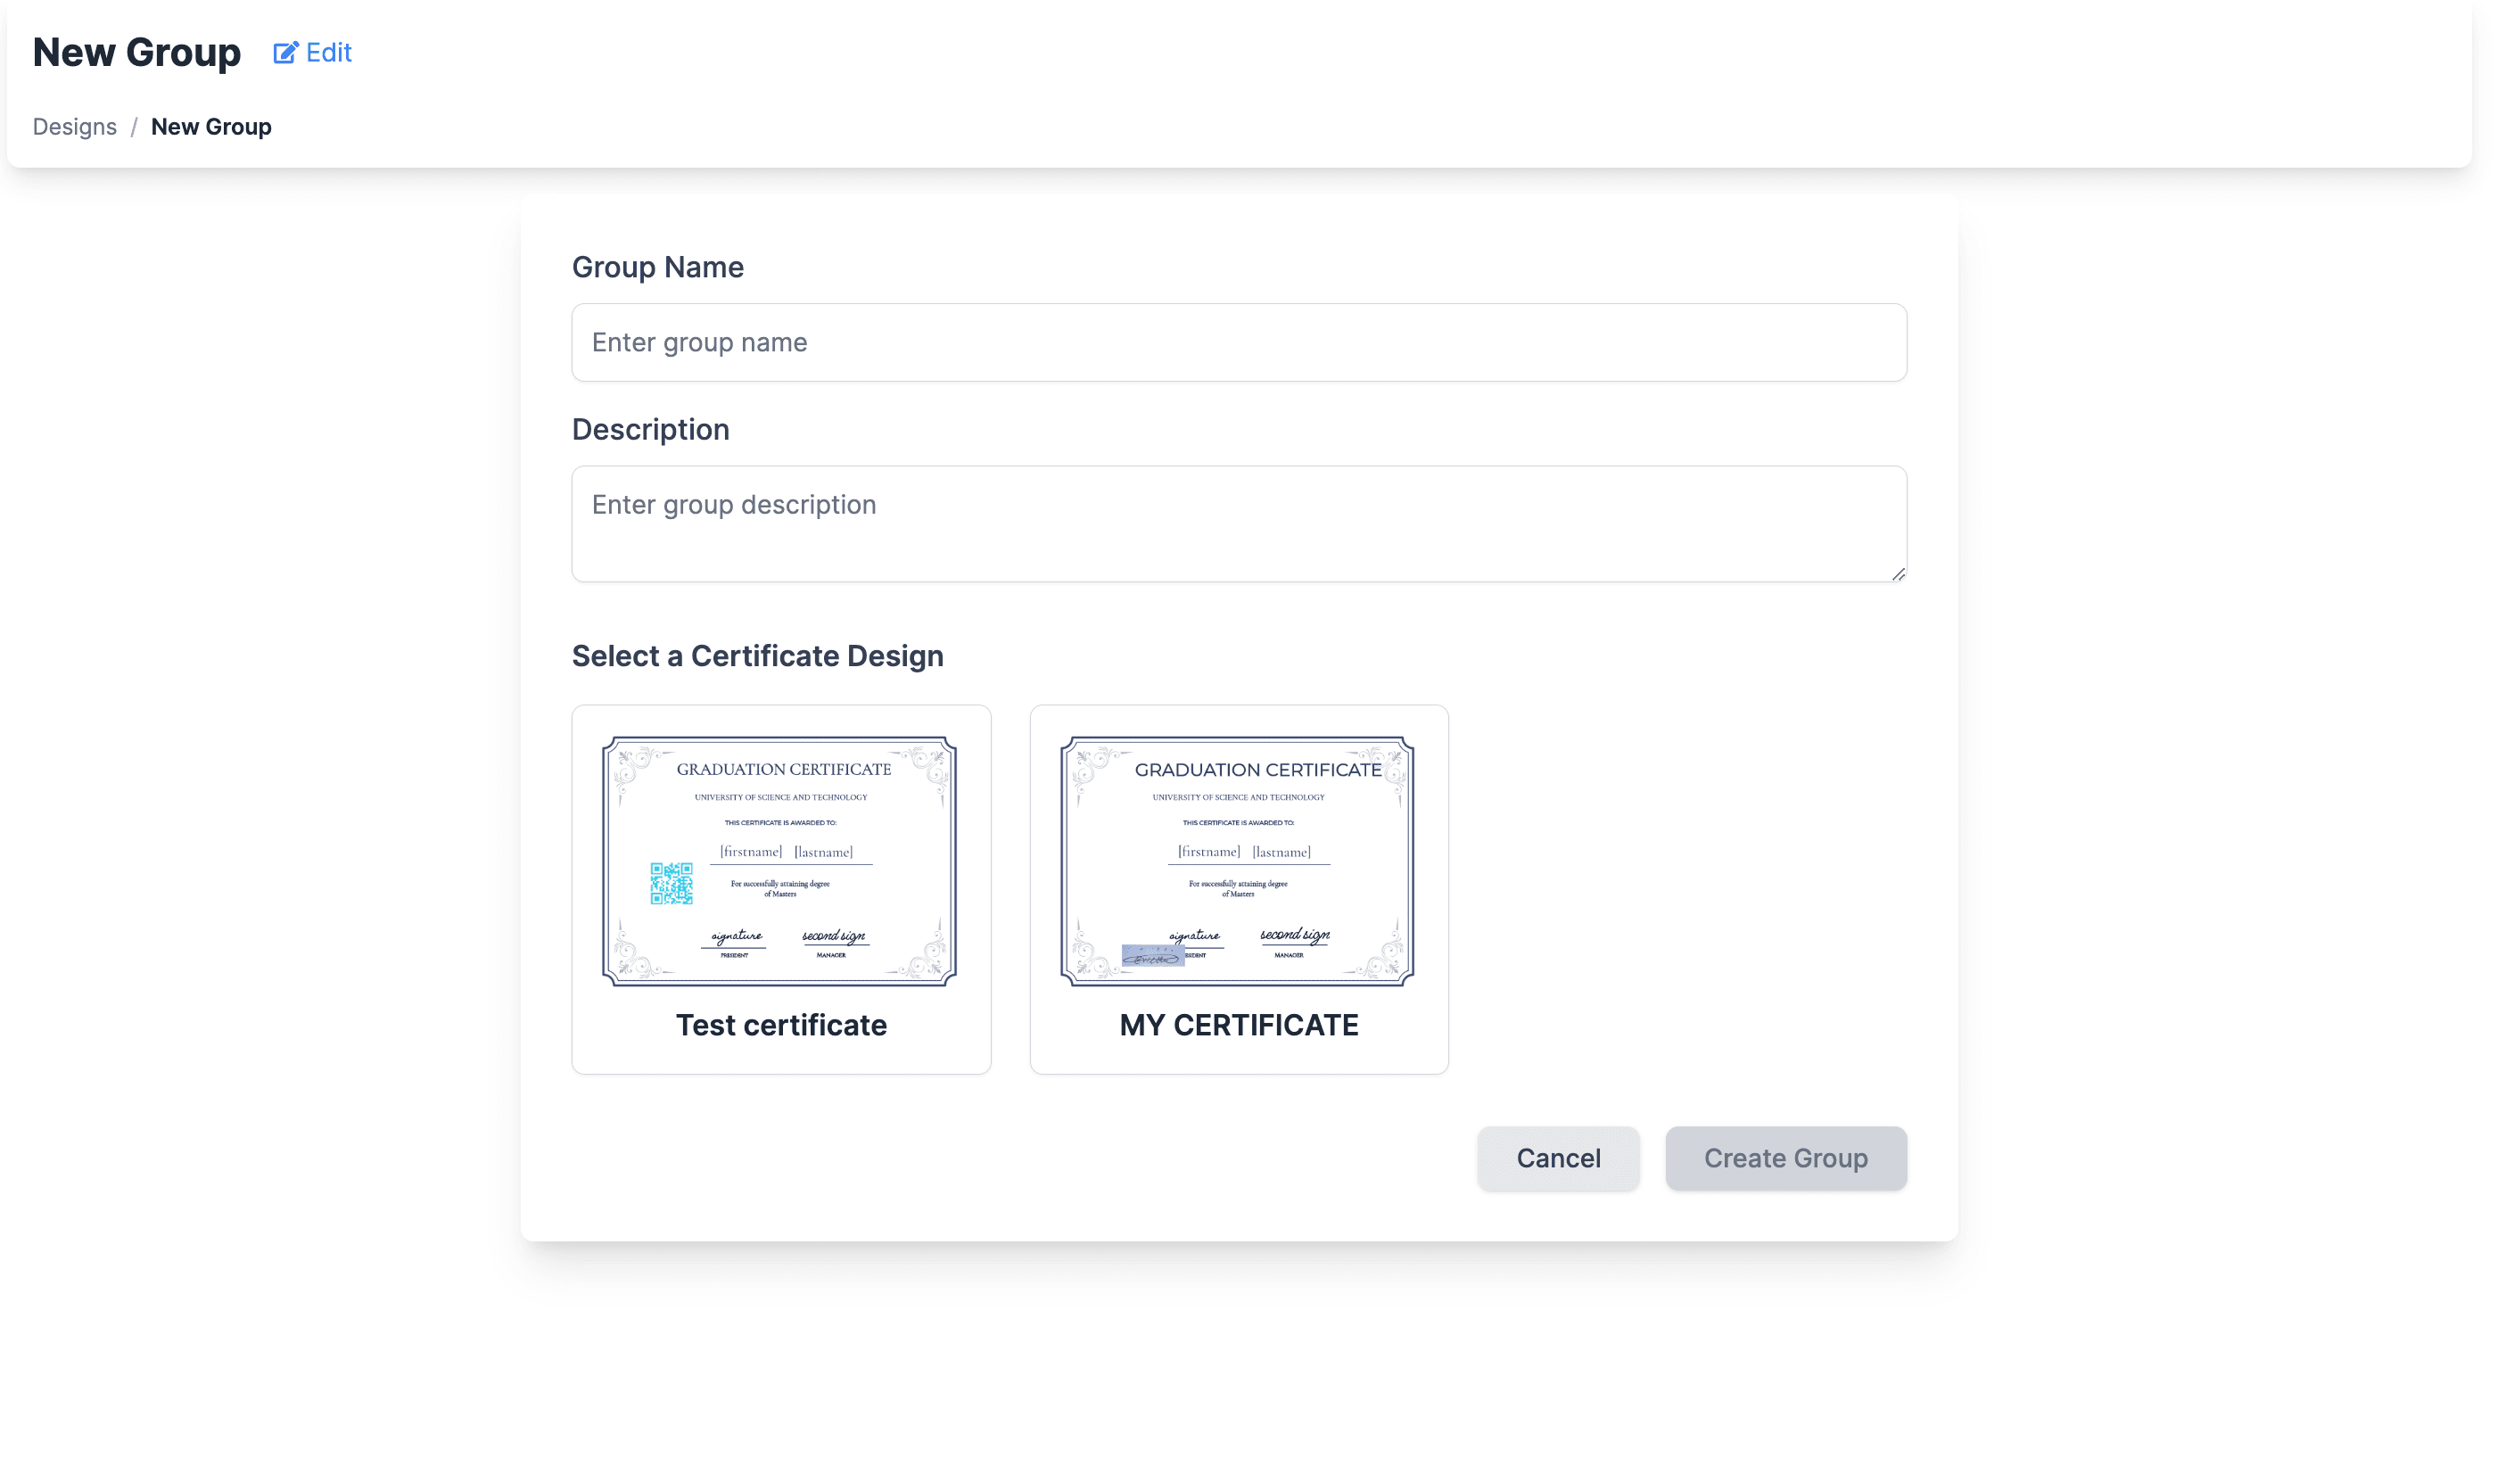
- Save the group.
This group helps you organize and manage recipients efficiently.
Step 4: Select a Template
Choose a template from the Published Templates. You can:
- Preview available templates.
- Select one that suits your purpose.
You can further customize the template in the next step.
Step 5: Customize the Template with Field Mapping
Dynamic fields (like [Name], [Date], etc.) allow you to map data from your CSV to the certificate. Customize the template to include placeholders for your data fields:
- Use brackets
[]to define fields (e.g.,[Name],[Course Name],[Award Date]). - Ensure these fields match the column headers in your CSV file.
Step 6: Download the Sample CSV
Click on the Download Sample CSV button to get a pre-formatted file. This file includes all placeholders needed for mapping data to the certificate.
Step 7: Populate the CSV with Recipient Data
- Open the downloaded CSV file.
- Enter the data for each recipient:
- Ensure all fields match the placeholders in the template.
- Avoid leaving required fields blank.
Save the file when done.
Step 8: Upload the CSV File
- Click the Upload CSV button in the app.
- Select your updated CSV file.
Note: The upload process might take several minutes for large datasets. A progress bar will show the status of your upload.
Step 9: Review and Confirm
After uploading the CSV:
- Review the mapped fields to verify accuracy.
- If everything looks good, confirm to start generating certificates.
Step 10: Download or Share Certificates
Once certificates are generated, you have multiple options:
- Download Certificates: Export them in PDF or PNG format for printing or distribution.
- Share Online: Instantly share certificates via email or social media platforms.
Tips for a Smooth Bulk Issuance
- Double-check the CSV for typos or missing data before uploading.
- Use clear and descriptive group names for better organization.
- Ensure placeholders in the template exactly match column names in your CSV.
For any issues or questions, feel free to reach out to our support team. We’re here to help!